Article Goal: Creating an Azure Resource Group & Service Bus to enable guaranteed delivery of messages.
The first step in creating the iPaaS environment is to define the message we will be expecting in our service bus. I have defined a sample JSON message as follows:

Such a message, can hold information for any entity type. This one shows a sample customer to be inserted in our system. Same way we can add other messages to our service bus which can insert / update any type of entity, such as a vendor, order, supplier, etc.
Create Resource Group
Now that we know how our input message will be, let’s start defining the actual Azure artifacts. First step is defining the resource group. Azure resource groups are a way to group resources that should have the same lifecycle, meaning that they can or should be created together, deployed together, or even destroyed together. We will create all resources used in this solution under the same resource group. For detailed information about Azure Resource Groups, you can go to https://docs.microsoft.com/en-us/azure/azure-resource-manager/resource-group-overview
To create a new resource group, go to the Azure portal (portal.azure.com), click Resource Groups on the left side menu, then click Add:

Fill the required information, then click “Create”

Note that I included the environment prefix in the resource group name. We need to do this if we have a plan to deploy our resources to multiple environments, as to differentiate the artifacts between environments. As this is our case here (final part when implementing CICD), I’ll be adding the environment to the artifacts names I’ll be creating in this series.
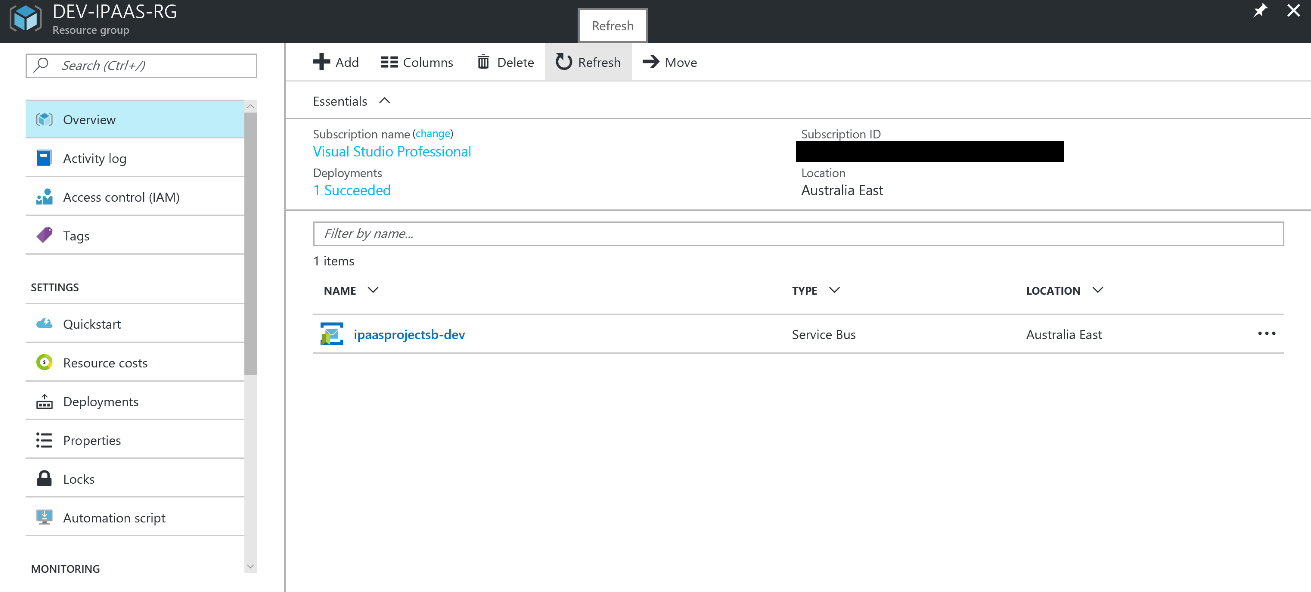
Once the resource group is provisioned, click Refresh to view it among other resource groups you have previously created.

Create Service Bus
Now, it’s the time to create the Service Bus. Azure Service Bus allows us to create queues and topics / subscriptions for publish/subscribe communications, which is what we need in our example. For detailed information about the Service Bus, you can go to https://docs.microsoft.com/en-us/azure/service-bus-messaging/
So let’s start by creating a service bus namespace to host our topics, subscriptions, and queue. Click on the newly created resource group, and then click “Add” from the top menu.

Type Service Bus in the filter search box, click Service Bus in the results, then click “Create” in the new opened blade.

Fill the service bus namespace information as below. Note that the name should be unique, so you won’t be able to use the same naming I’m using. Just make sure your names are unique and they include the target environment name.
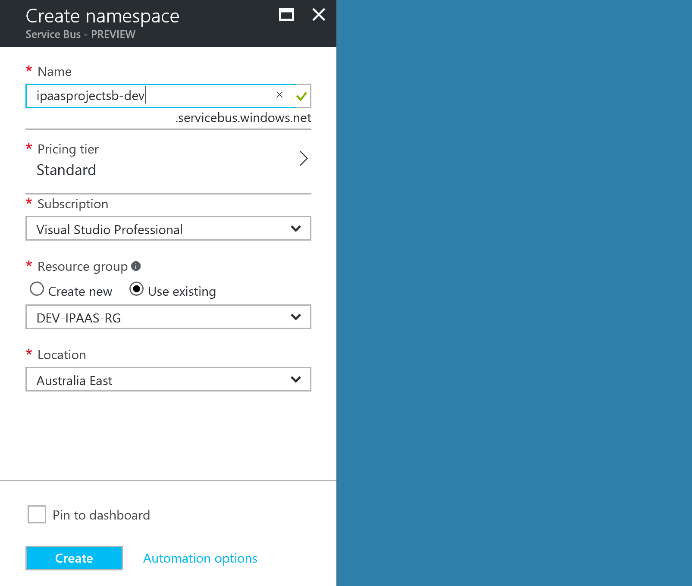
Once created, refresh to see your service bus namespace among other artifacts in the resource group.
Now that we have created the namespace, let’s go on and create topic and its subscriptions.
On the service bus namespace, click the +Topic icon to create a new topic.

The topic blade will open, fill the properties as below and create the topic
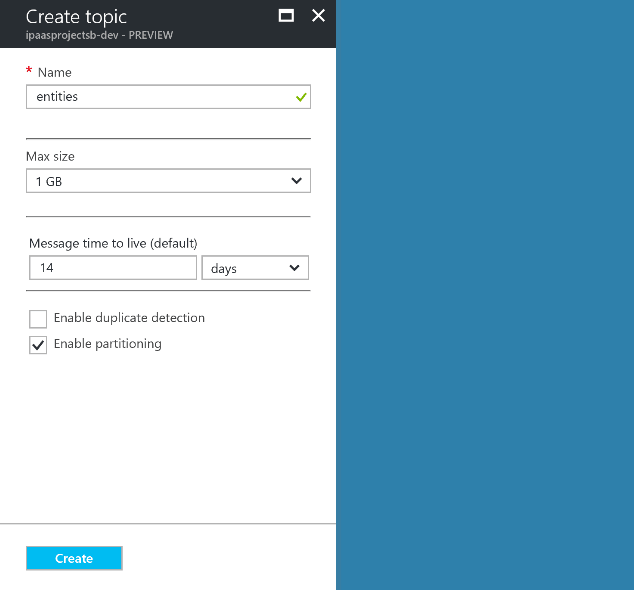
Once you do that, the topic is created and you can start creating the subscriptions

Click on the entities topic in the list, then click on the +Subscription in the newly opened blade

Create a subscription called “customers” and keep the other default properties
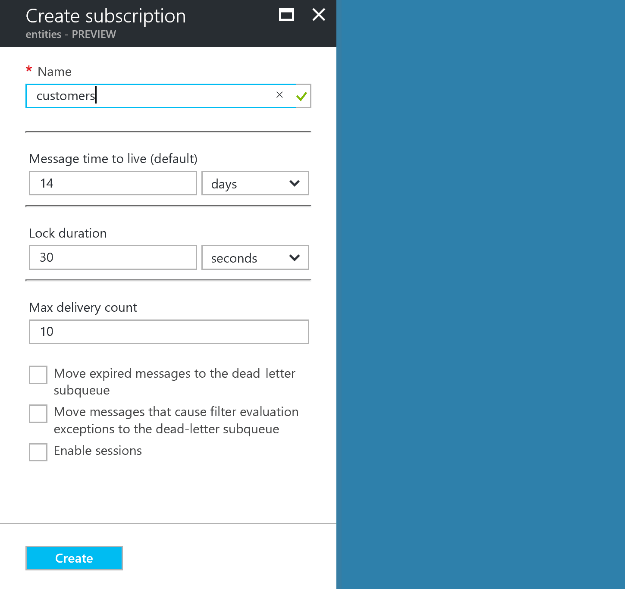
You can create as many subscriptions as you want, each to handle a certain message type. For this scenario, I created two, but I’ll only be handling the customer message type.

Now that we have created the subscriptions, we need to set the rule on each subscription. The rule actually defines to which message type this subscription is subscribed. In our case, the “customers” subscription will be handling messages with “entity” property equals to “Customer”. Unluckily, the Azure portal doesn’t support adding the subscription rules, so we’ll have to use an external tool called “Service Bus Explorer”. If you don’t have it, just search for it on any search engine and download it. In order for the Service Bus Explorer to connect to our service bus, we need to get the service bus connection string. Let’s do that. Click on the “Shared access policies” on the left pane, the click the RootManageSharedAccessKey
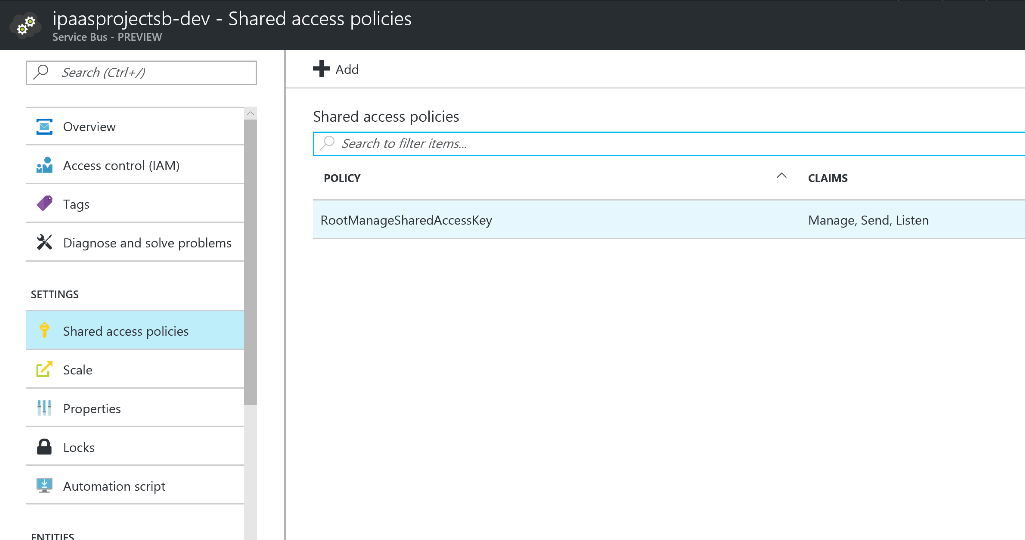
Then copy the Primary connection string in the opened blade. Keep this connection string saved somewhere as we’ll be needing it later in the series.

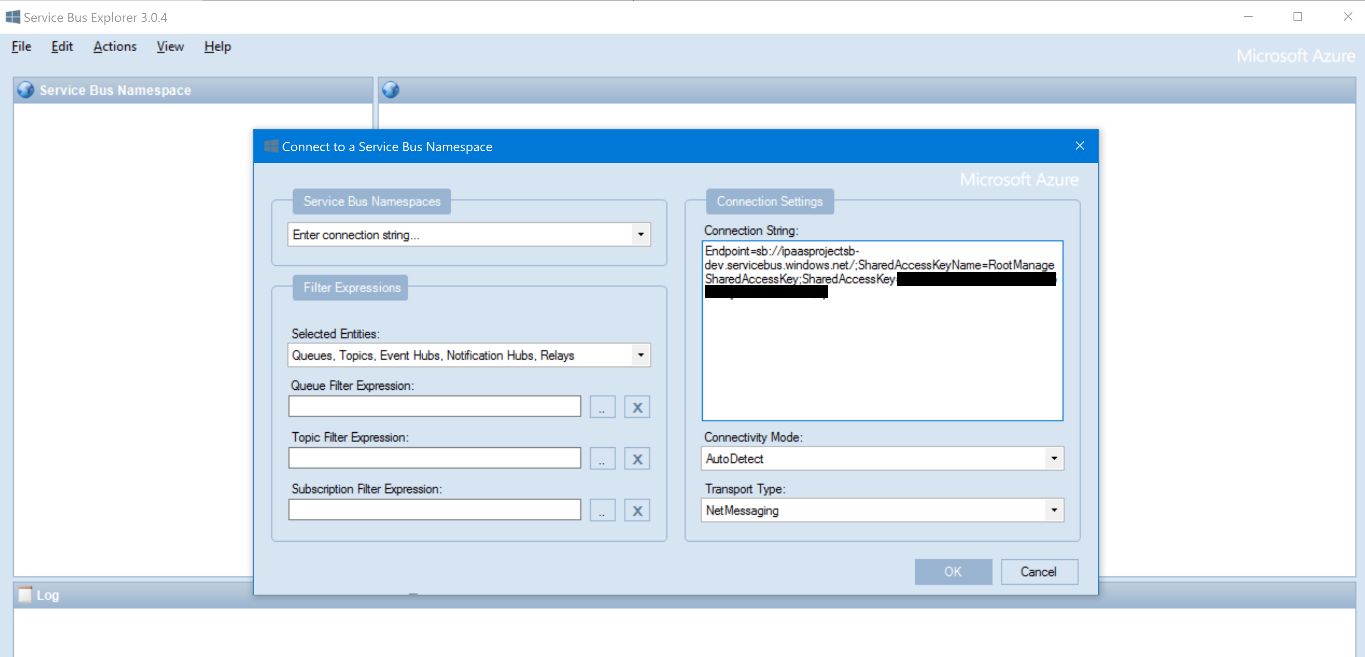
Now open the Service Bus Explorer, click File -> Connect

Then in the Service Bus Namespaces drop down, select “Enter connection string…” and paste the copied connection string into the “Connection String” text box, then click “Ok”
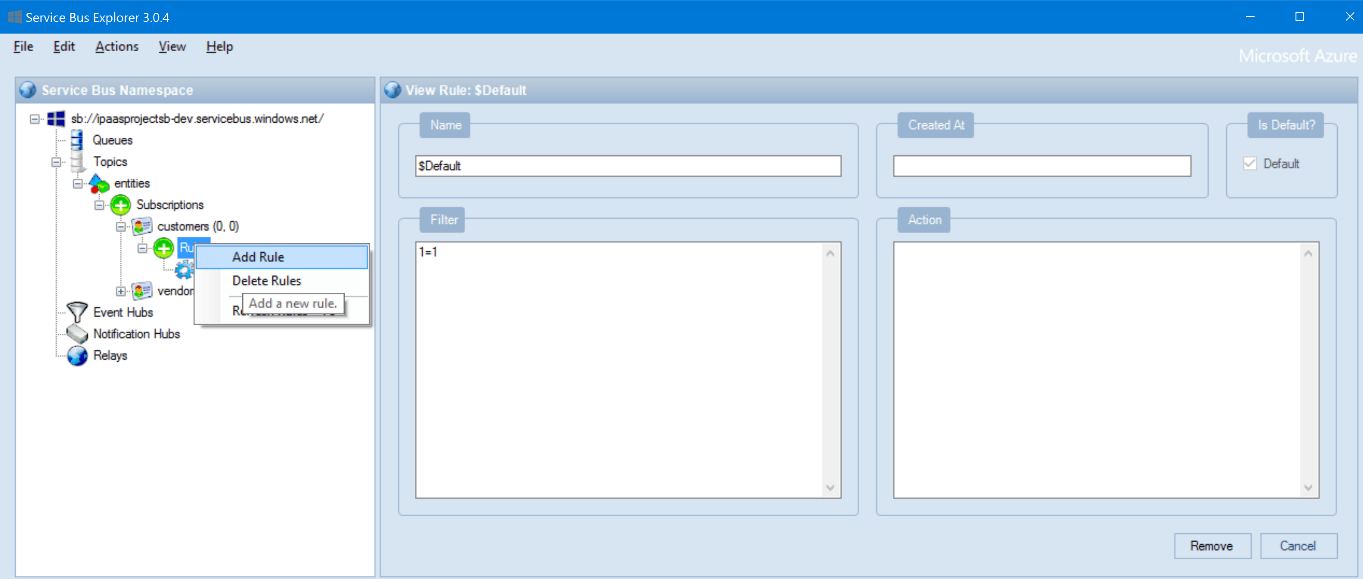
Expand the Topics -> entities -> Subscriptions -> customers, right click Rules and select “Add Rule”.
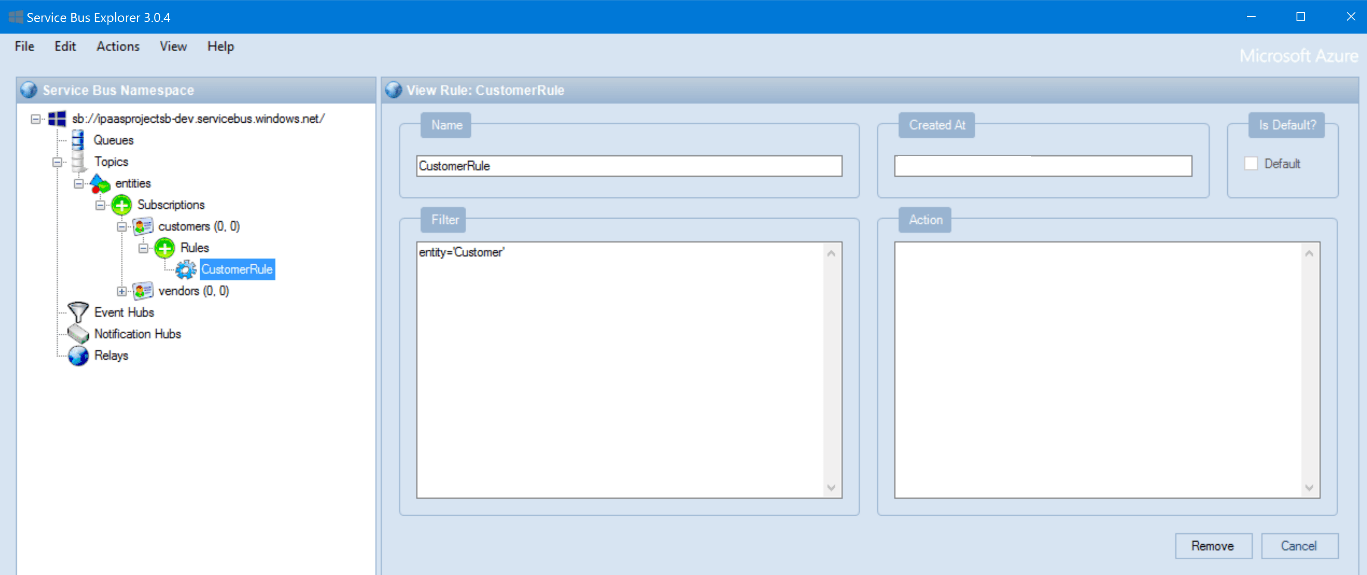
Enter the filter name as “CustomerRule” for example and Filter to be entity=’Customer’ then click “Add”. Also, select the $Default rule and click “Remove”.
Do the same if you want to setup the “vendors” subscription, but with the filter as entity= ‘vendor’ instead. The final setup should look like the below:
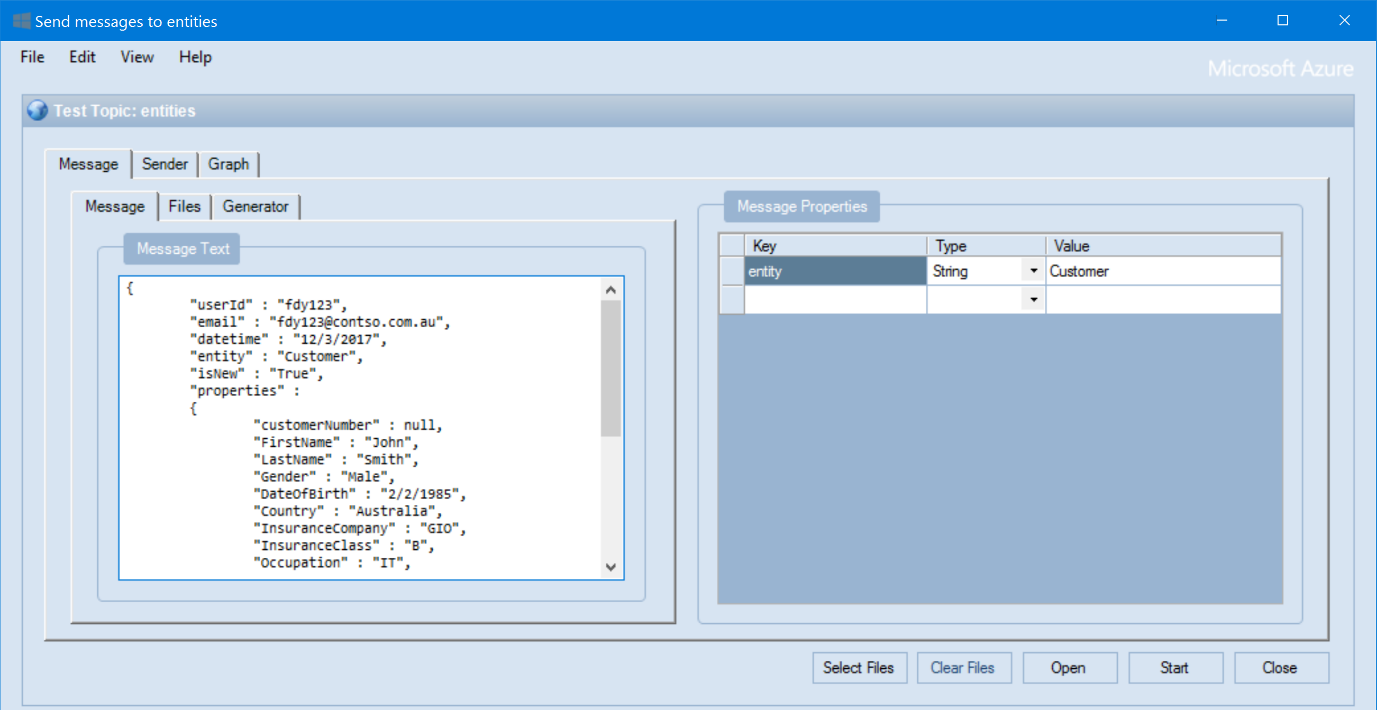
To test if our service bus is working fine, let’s put a message in the topic. To do that, right click the “entities” topic and click “Send Messages”. Copy / Paste the sample message I shared earlier into the “Message Text” textbox, remove all existing properties in the right pane, and add a new property called “entity”, then set its value to “Customer”. Once done, click “Start”, then “Close”
Right-click the “customers” subscription, then click “Refresh Subscription”, you’ll see that there’s a message in the subscription

If you want to view the message, then you can Right-click the subscription and select “Receive Messages”, then click “Ok” on the opened dialog box, but I rest my case here.
Finally, let’s create a service bus queue that we’ll use to send emails upon any failures / exceptions. Recall that in our scenario, one there is a failure, we put a message in the queue, and there would be an Azure Function listening to the queue and sending an email upon picking any message.
So let’s go, back to the service bus main blade, click on the +Queue action

Fill the queue properties are follows, then click create

Once created, the queue will appear under the service bus namespace components

This concludes our service bus creation part of this series, in the next article, we shall create the Storage Account & Table to hold configuration data used in our solution.