Article Goal: Setting up the environment and defining the plan of our project in VSTS.
Before delving into the implementation aspect of the scenario, and since we’re going to cover a lot of DevOps concepts during this series and later articles, let me just list the major practices of DevOps so that I can link to them whenever applicable during my articles.
- Agile planning & project management: techniques to plan your project, usually using agile methodologies such as SCRUM which guides you to organize your work into sprints, use work items to define your tasks, Kanban boards to view your sprint status, burn-down charts to view the progress, etc.
- Version control: enables teams to share and collaborate on the source code
- Continuous integration: ongoing building & testing of code on the build server.
- Continuous deployment: ongoing creation of deployment packages and releasing to different environments
- Monitoring: monitoring of testing & production environment for application health
Since this series, besides covering the iPaaS implementation aspect, was going to cover version control, continuous integration and continuous deployment parts of the DevOps pipeline, I thought to myself, why don’t I start by covering the planning & project management aspect, mimicking an actual ALM process? Enough introductions, let’s start.
First, navigate to visualstudio.com/vso and click “Get Started for Free”

Login using your Microsoft account and you’ll be presented with a screen to create a project. You have the choice to use Git or Team Foundation as a version control system. I’ll chose Git for now. Click “Change details” to view and edit more options, then click “Continue” to create your project.

Once the project is created, you will be presented with the project home screen similar to the below

This is the project that will host our source code and solution artifacts. As a first step, let’s generate Git credentials to secure our project from unauthorized access. Click on “Generate Git credentials” and enter your credentials, then click “Save Git Credentials”

Now you have created a Git repo called iPaaSProject on the cloud (ipaasproject.visualstudio.com) and managed to secure it with your own chosen credentials. What you need is to be able to manage that repo from your own machine. We need to be able to clone (download), modify the files, commit changes, and push / pull changes from the server. To do that, we need to install Git on our machine and optionally install a Git GUI client. To install Git, go to the following URL and follow the instructions to download / install Git: https://git-scm.com/book/en/v2/Getting-Started-Installing-Git
Once done, we can clone the repository to our machine by opening the Git CMD, navigating to the directory we want to clone our repository to, then copying / pasting the git repository URL given to us in the previous screen.

So now, we have prepared our environment and setup source control to start hosting our code and artifacts. We can go on to plan our project (Remember first point of the DevOps practices?)
Click on Work on the top menu bar. You will be presented with a screen showing backlog items and a set of sprints.
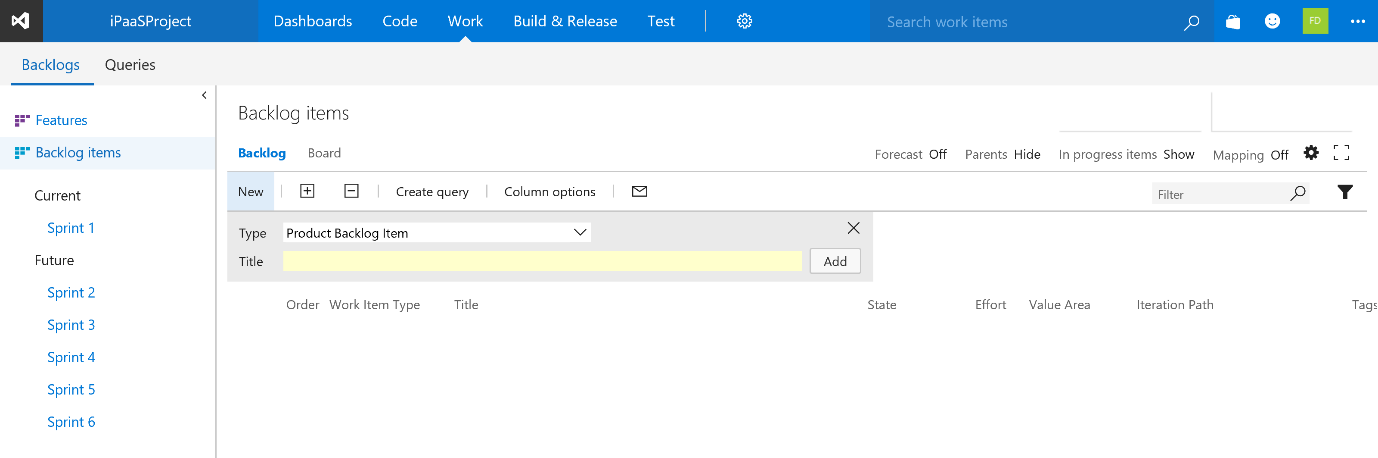
I’ll keep the sprints as is and start adding backlog items to the sprints.

After I have added the tasks I have in mind, the list will look like

After that, I’ll assign each item to a sprint

Finally, after assigning each item to a sprint and some reshuffling, my backlog will look like:

By this, we have setup our environment and planned the project using VSO. In the next article, we will start the actual implementation.