In this article, we will explain how to expose a pipeline as an API in SnapLogic. Recall that in SnapLogic, an integration workflow is called a pipeline. For a beginner step-by-step tutorial on how to create a pipeline in SnapLogic, have a look at our previous article Creating your first SnapLogic Integration. Note that SnapLogic has its own API Manager that can be used to further create a RESTful API and manage its full lifecycle. However, in this article we will showcase how to only expose the pipeline as an HTTP endpoint without further adding the API Manager layer to the endpoint
In the next sections, we will create a brand new pipeline, then follow a series of steps to showcase how we can expose this pipeline as an API. The pipeline will be a simple one which extracts a single customer from Shopify using the customer’s id fed into the pipeline from the API query string.
Step 1: Create the Pipeline
Let’s start by creating a new pipeline as shown below. Note the customer parameter. This will be used to feed the customer id into the pipeline using a query string. Also, add a default value for an existing Shopify customer so that we can validate and retrieve data during the development of the pipeline.

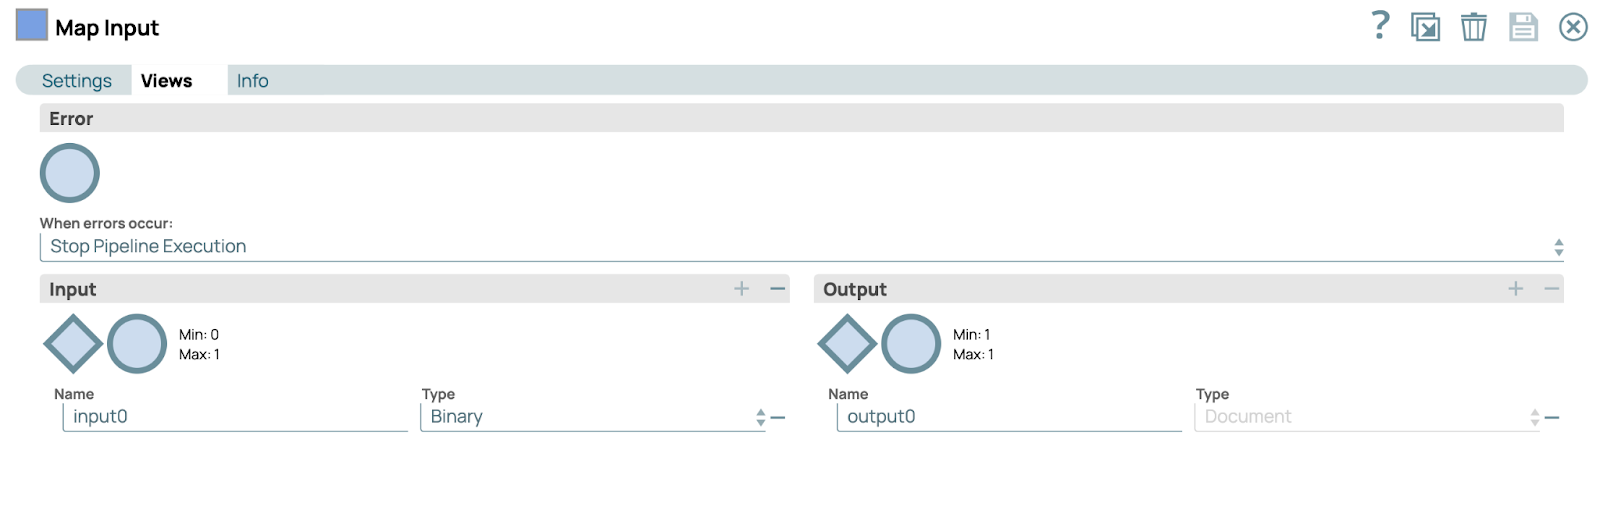
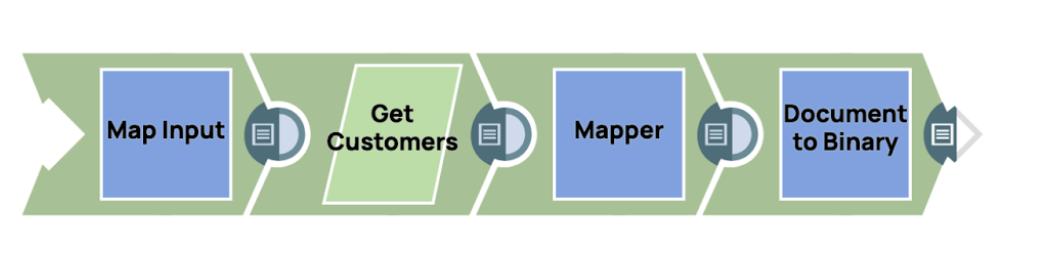
First Snap to add is a Map snap. Drag and drop one into the pipeline and configure the input view to be a binary one (so that it can accept the input directly from the HTTP request parameter later)
Configure the map to populate a customer output path from the customer pipeline parameter. We’ll use this variable going forward in our pipeline.

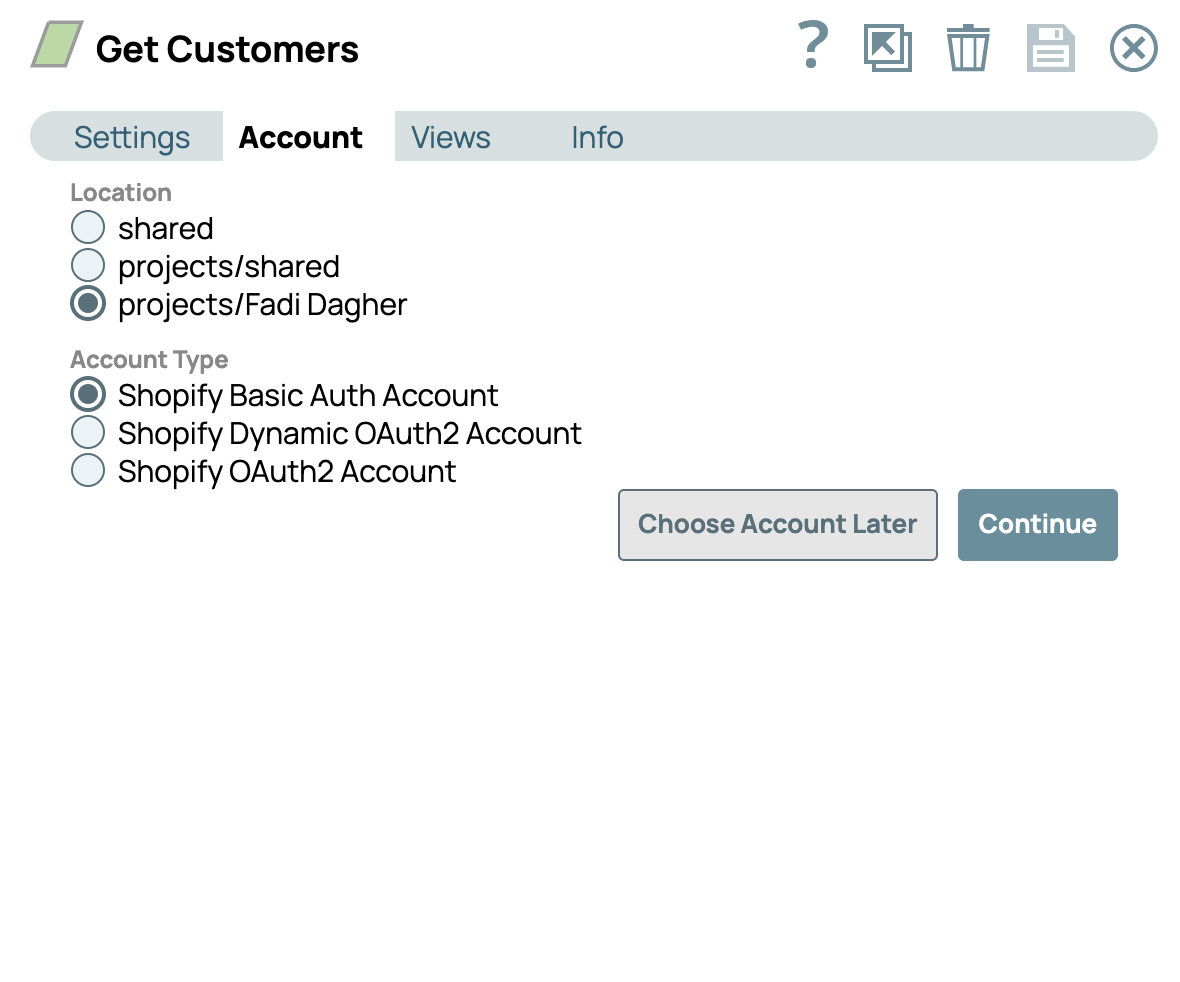
Next Snap to configure is a Shopify “Get Customers”. Again, drag-and-drop one into the pipeline, open its properties and configure the Resource Id to be the customer variable which was the output from the previous step.

Add an account to connect to Shopify as follows
Populate the Shopify username and password as shown below

To populate the Username and Password, you would need a Shopify API key and secret key for your store. This article should explain to you how to do that.
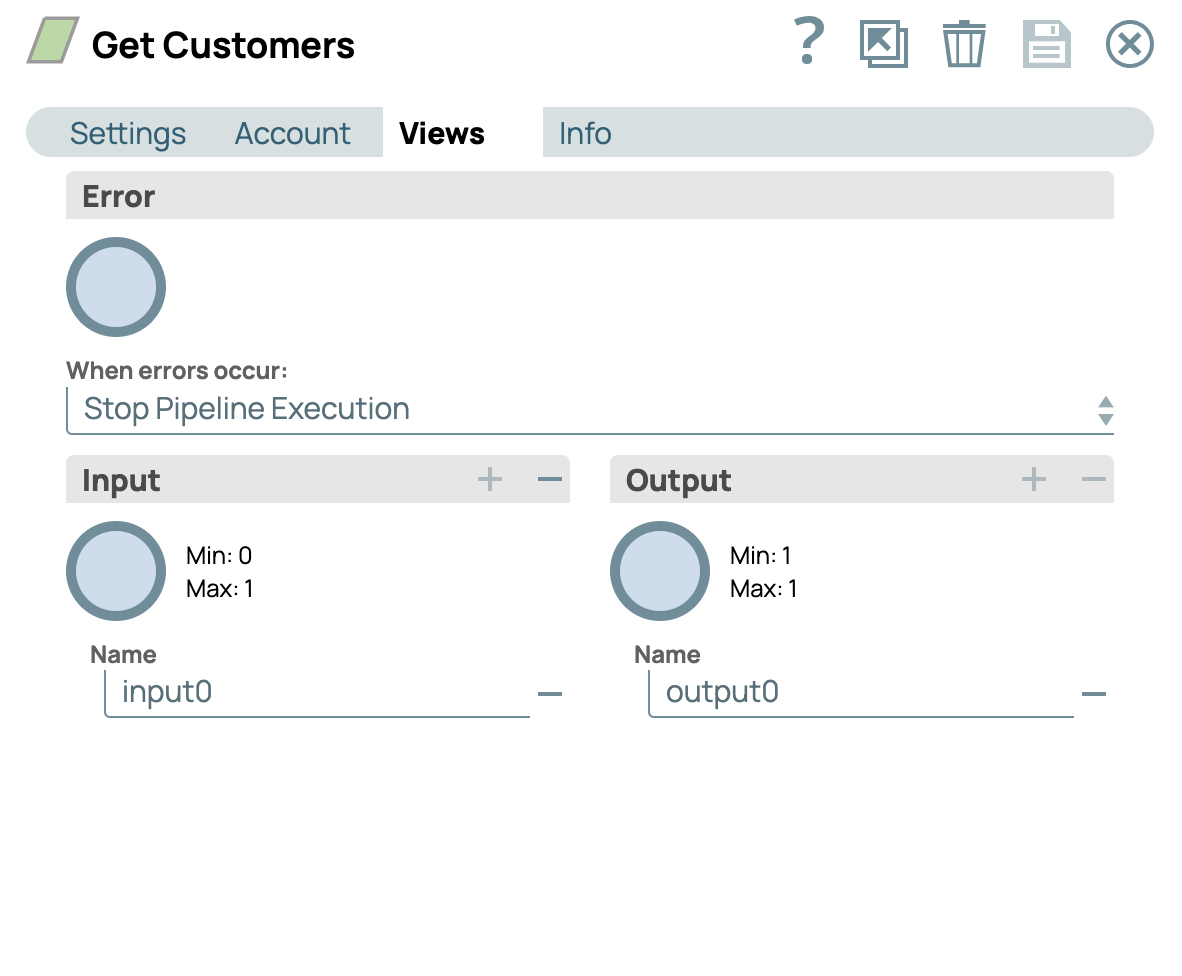
Lastly for this Snap, add an input view as shown below. This will be needed for us to be able to connect this snap to the output of the previous snap.
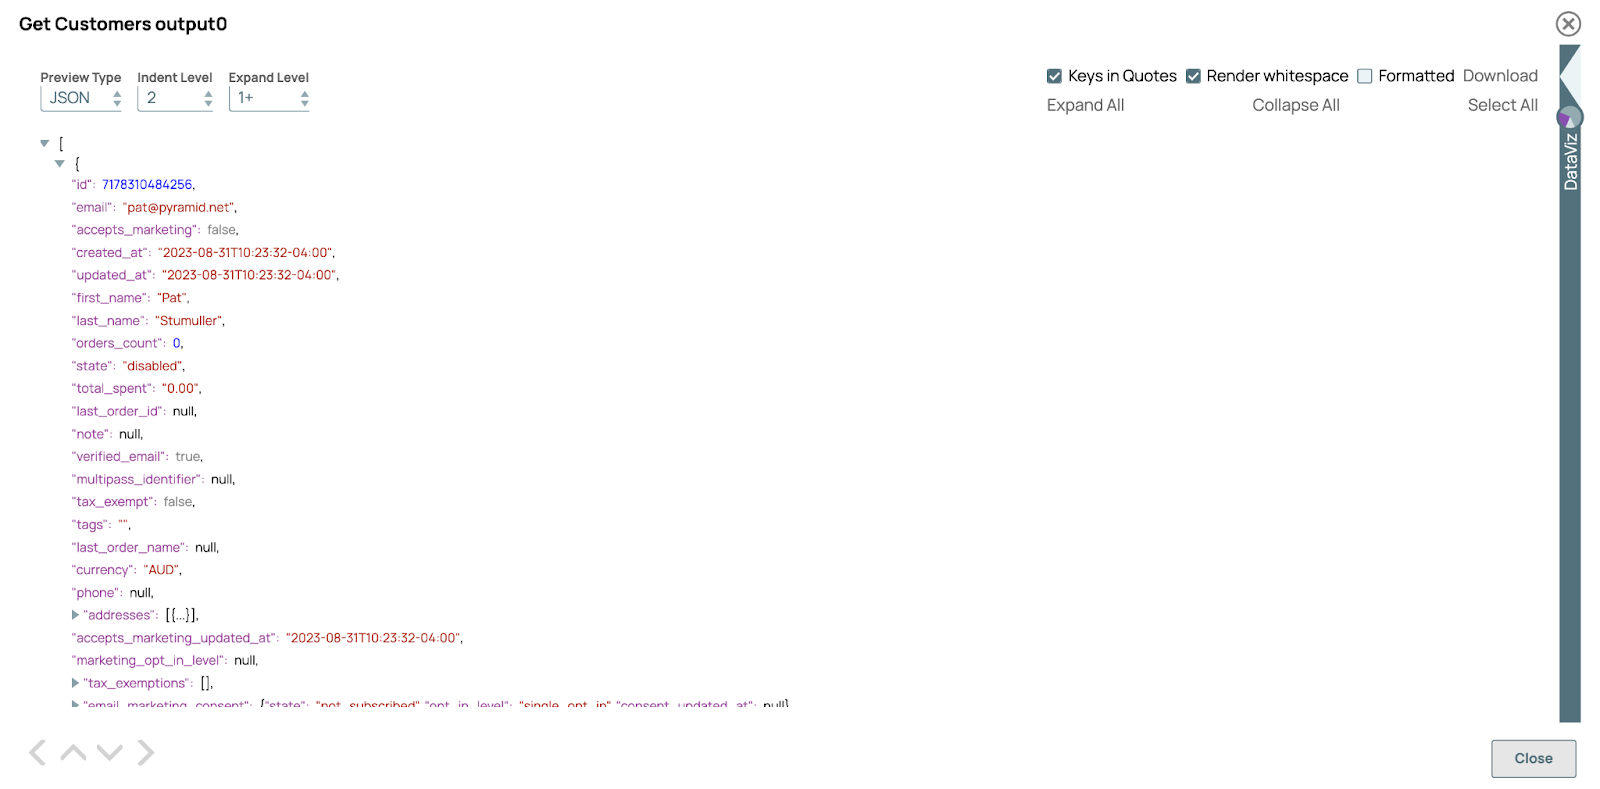
Save and close, then connect the two snaps together. The document icon after the snap should turn green indicating that validation is successful and data is retrieved. You can click it to see the customer details retrieved
Next is to add another Map snap to the pipeline in order to transform the output received from Shopify into the final format we want to return from the pipeline. Do that and configure the mappings as follows.

Finally, add a Document to Binary snap to the end of the pipeline and configure the encoding to be a document as follows. This will allow the output to be sent as a response for the API we will create.

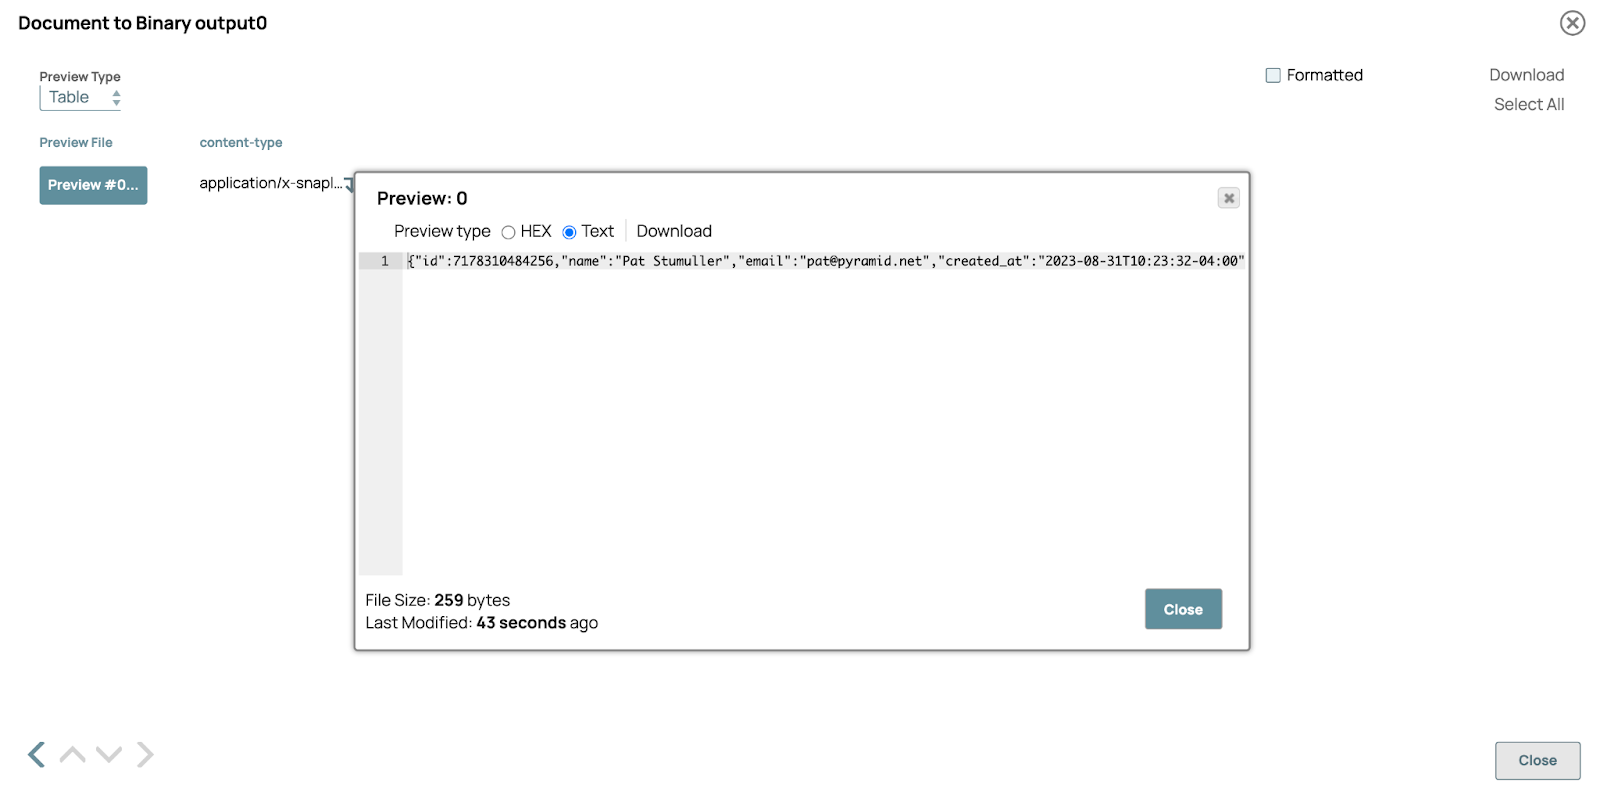
Clicking the green document icon will show the output expected
This is how the pipeline should look like at this stage
Step 2: Create the Triggered Task
Now that the pipeline is created and validated to be working and returning data as expected, it’s time to create a Triggered Task so that we can expose this pipeline as an HTTP endpoint. To do that, click the “Create Task” icon in the toolbar as shown below.

Keep the default options, just copy the bearer token generated as we will use it to authenticate the API call later.

Navigate to the Manager section of the platform and open the Task’s Details as depicted below.

This view contains all details you need in order to invoke the pipeline. Make sure to copy the pipeline URL and the bearer token

Step 3: Test using Postman
Now it’s time to test our work. Open Postman (or any http client of choice) and configure it using the API URL and bearer token copied above, then trigger the call to see the retrieved default customer details.

Let’s perform another request to test feeding another customer to the pipeline by adding a customer query string. Notice how different customer information was retrieved.

Conclusion
In this article, we showcased how to create an API in SnapLogic by exposing the pipeline over an HTTP endpoint. We created a pipeline, a triggered Task, and finally invoked the API using Postman. In future articles, we’ll look at how to use SnapLogic’s API manager to further create a Restful endpoint on top of the endpoint generated by the triggered task.