In this article, we’ll explain and provide a step-by-step tutorial on how to create APIs in Workato. Understanding how to use Workato’s API capabilities is crucial whether your objective is to connect with a third-party application, extract data from an external source, or expose some of your internal data through the platform. By following the steps of this article, you will get the knowledge and practical skills required to create API integrations by using Workato. Let’s get started and unlock the potential of Workato’s API integration features.
The scenario we’ll implement is creating a customer inquiry API. The API will return some customer information from Shopify. Since this article is all about API’s, we’ll call Shopify’s API layer directly rather than using the Shopify connector available in Workato. This way we cover two topics in one article, how to create an API, and how to invoke an external API.
The process of creating an API in Workato consists of two steps, first is creating an API-enabled recipe, and second is creating an API to expose the recipe in Workato’s API platform. Let’s get going!
Creating the Recipe
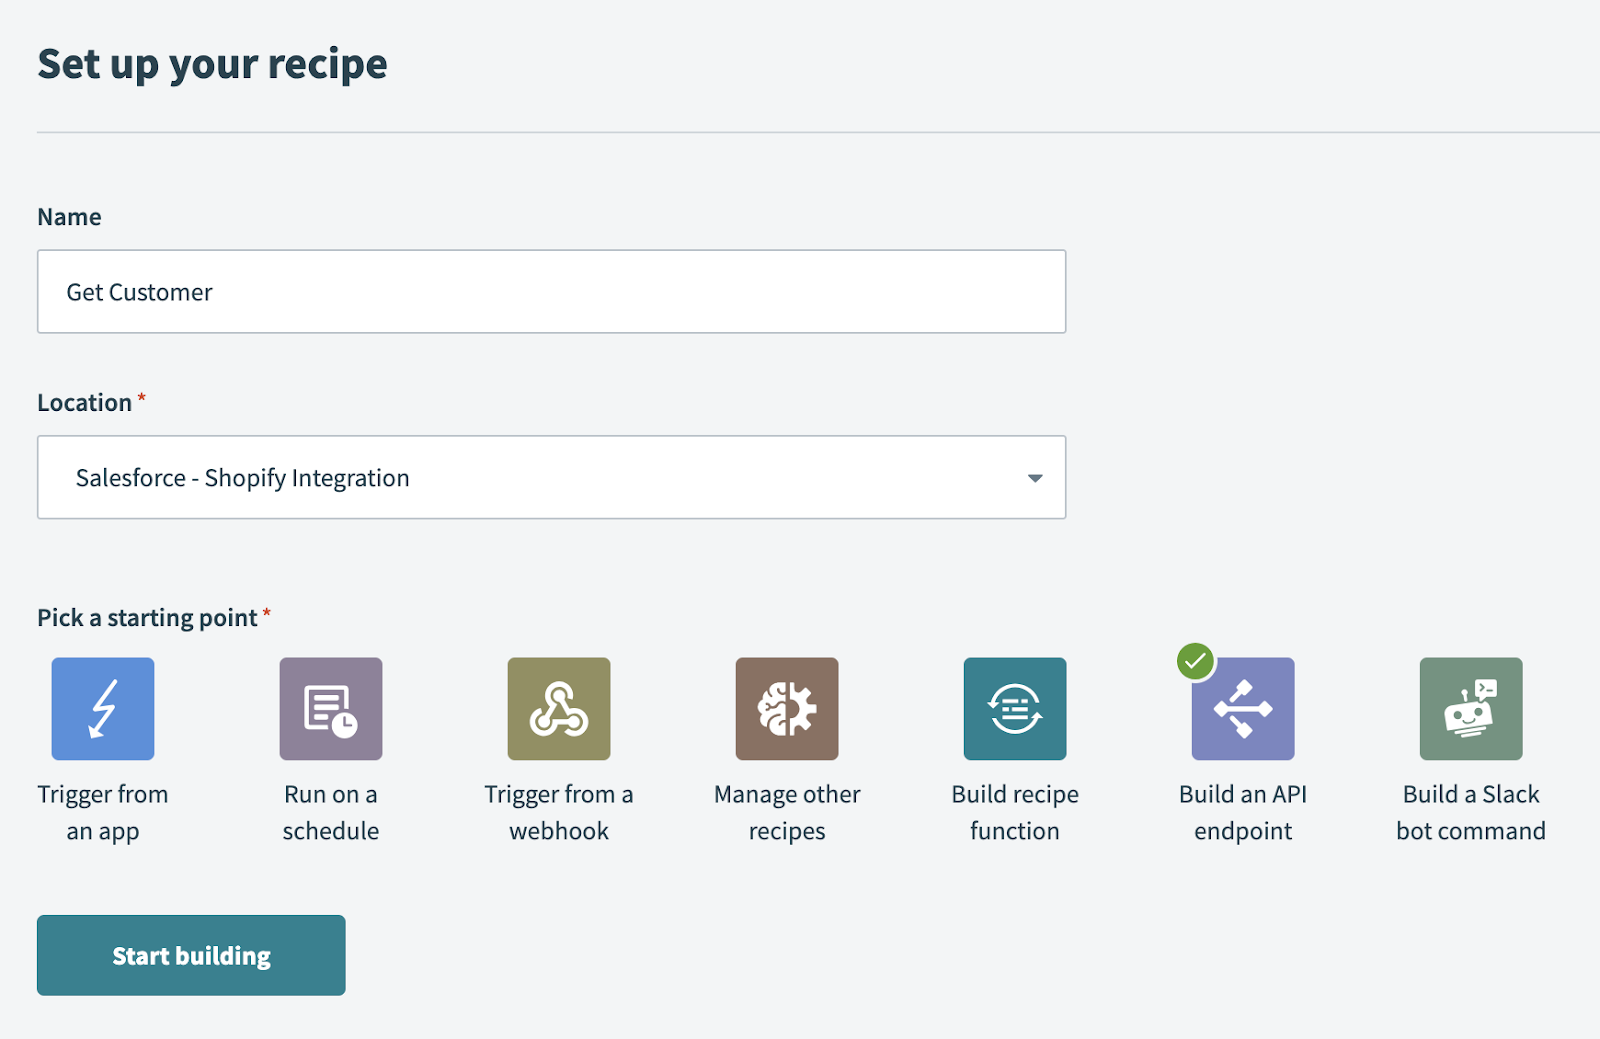
First step in the process is to create an API-enabled recipe. If interested to know how to create a recipe, follow the step-by-step instructions in this previous article. This is just a normal recipe, however the starting point needs to be “Build an API endpoint”, as shown below
Once you do that, you will be directed to the “Setup” page to complete the setup of the trigger. First, add a request parameter called customer_id. We need that because our API is going to accept the customer id as a request parameter

Next, add a couple of expected responses the API will return. A success one, and a failure one
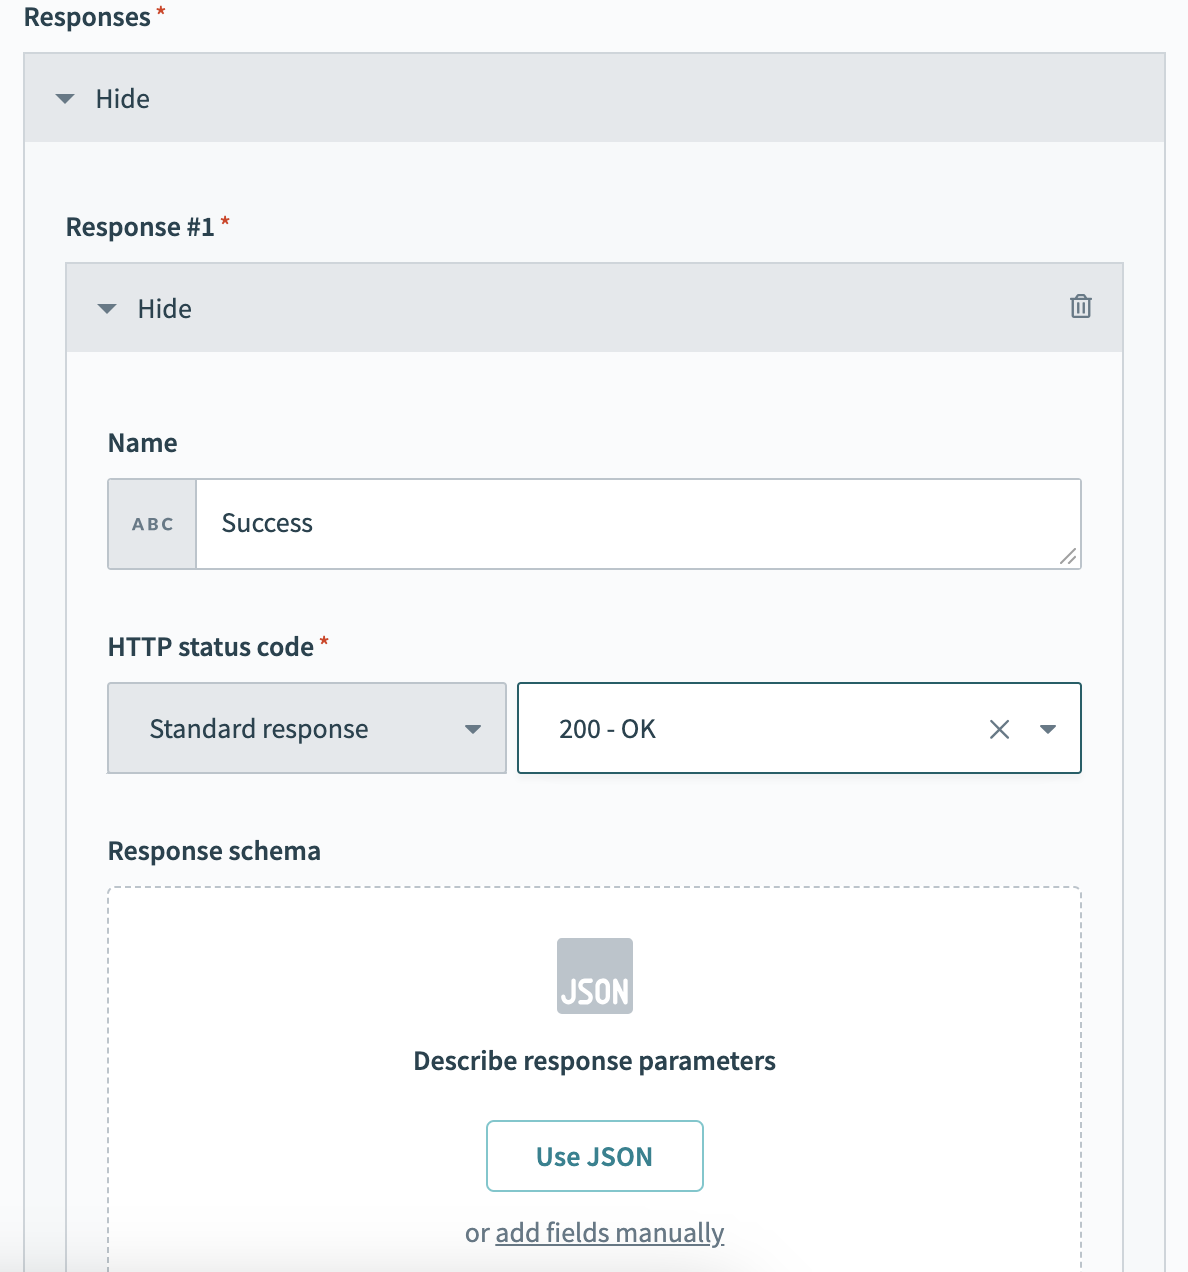
Provide a sample JSON response as follows

Here’s the sample
{
  "customer": {
    "id": 207119551,
    "email": "bob.norman@mail.example.com",
    "created_at": "2023-07-11T18:25:37-04:00",
    "updated_at": "2023-07-11T18:25:37-04:00",
    "name": "Bob Norman",
    "phone": "+16136120707",
    "shipping_address": {
      "street": "Chestnut Street 92",
      "city": "Louisville",
      "state": "Kentucky",
      "country": "United States",
      "zip": "40202"
    }
  }
}
Click “Next” then “Generate Schema” to generate the response schema.
Configuring the Actions
Now that the recipe is created and the trigger is configured, it’s time to implement the internal logic of the recipe through a set of actions. First, let’s validate that the customer id is numeric. To do that, add an “IF condition” and configure it as follows. This uses a regular expression to check if the customer id is not numeric and stop further execution if that’s the case.

Calling Shopify API
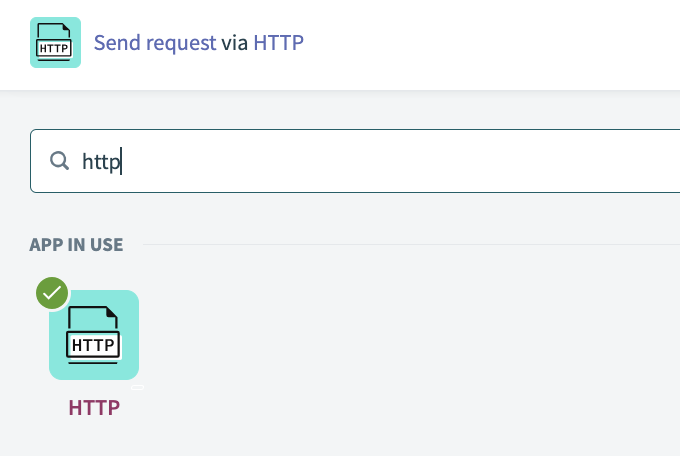
Next step is to call the Shopify API to retrieve the customer information. To do that add an HTTP action
Configure a new connection to Shopify API (or use an existing one if you have done this before)

To do that, you would need a Shopify API key and secret key for your store. This article should explain to you how to generate those.
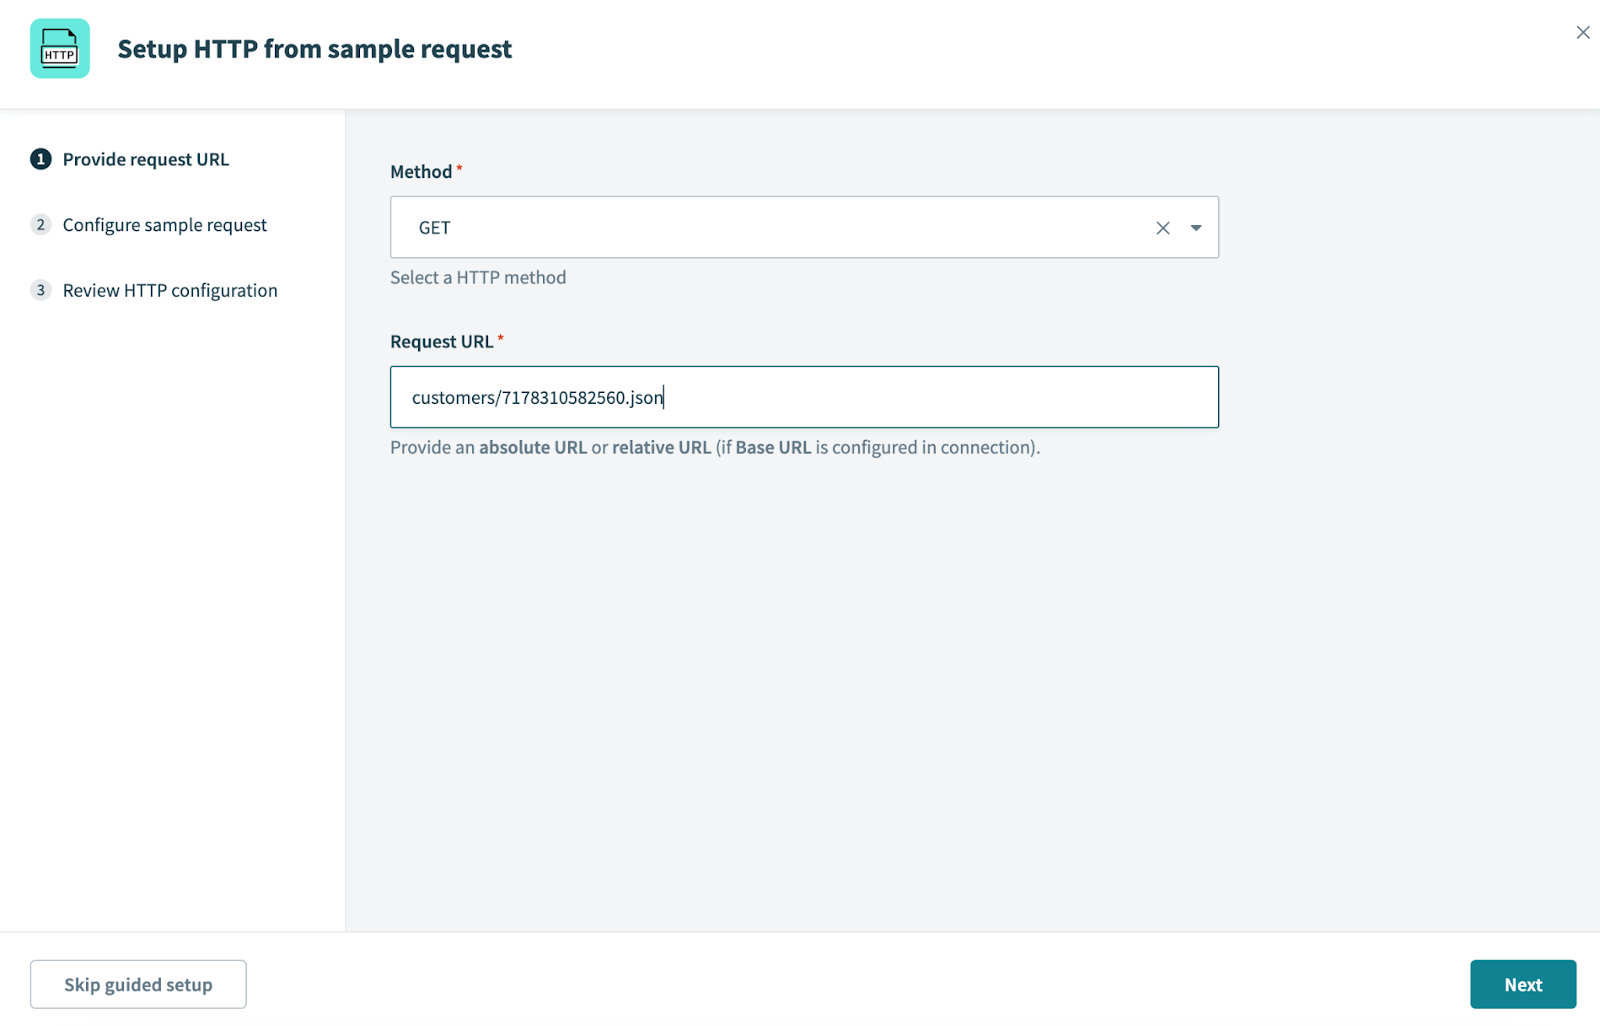
Once the connection is established, it’s time to set up the call to Shopify. To do that, click the “Start Guided Setup” button. This allows you to perform and introspect an actual call to the Shopify API in order to generate the response schema.

First step is to enter the relative URL with an actual customer id in Shopify, then click “Next”
Workato will perform the call and return back the actual response to be used in generating the schema
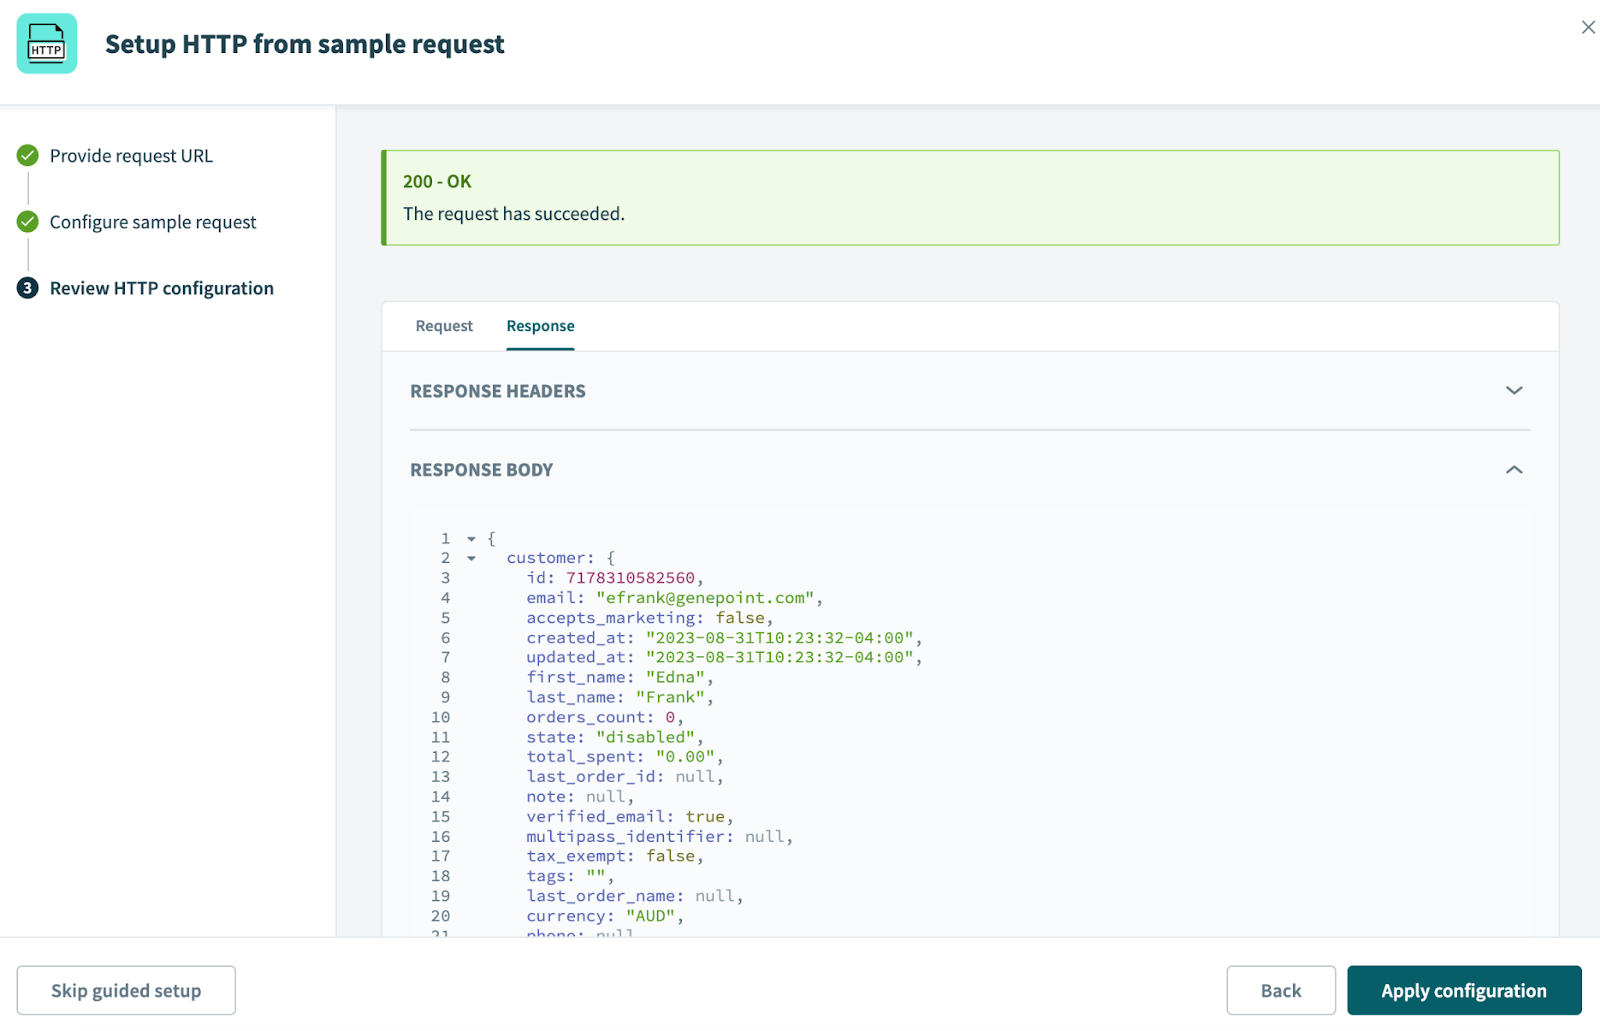
Hit “Apply Configuration” to apply your changes and exit.
Don’t forget to replace the hard-coded customer id you entered in the previous step, by the input customer id as follows

Returning a Response
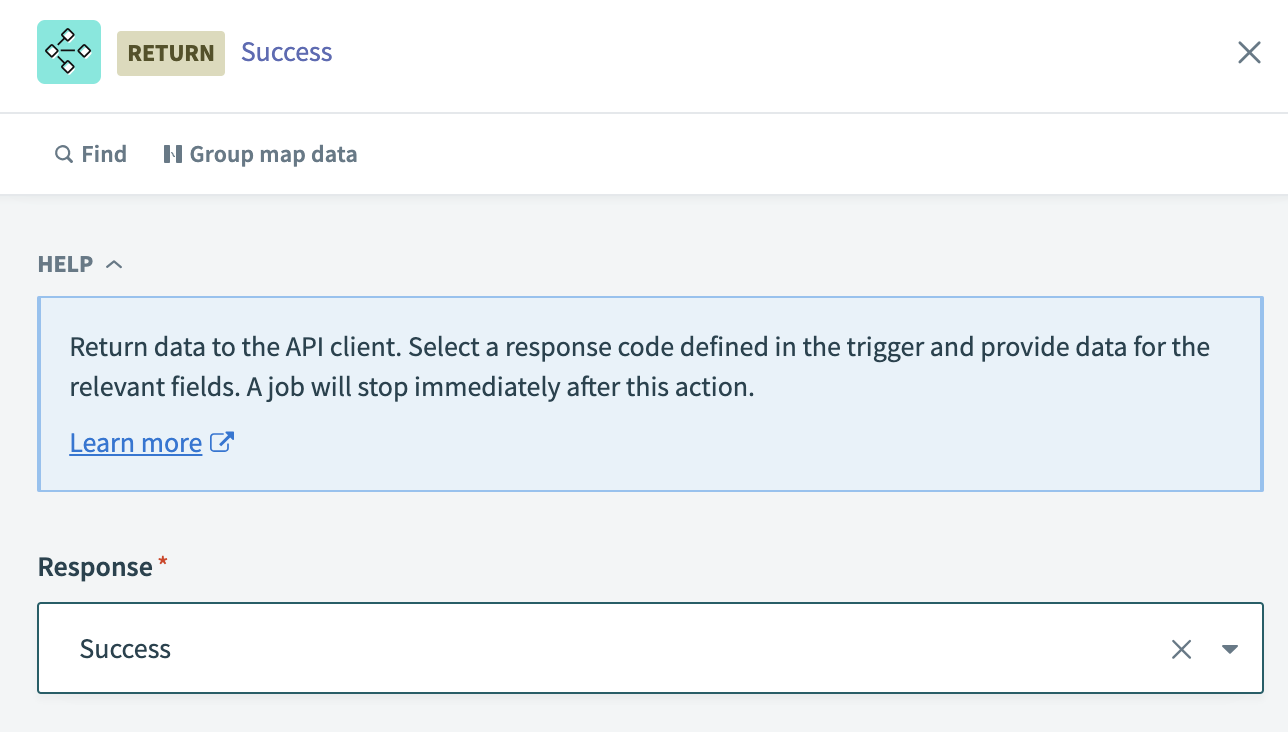
Final step in our recipe is to return the API response. Similar to the first step in the recipe, which was API specific, the last step is also an API specific step. To return an API response, add an “API Platform by Workato” action as follows

Set the response to be the success one
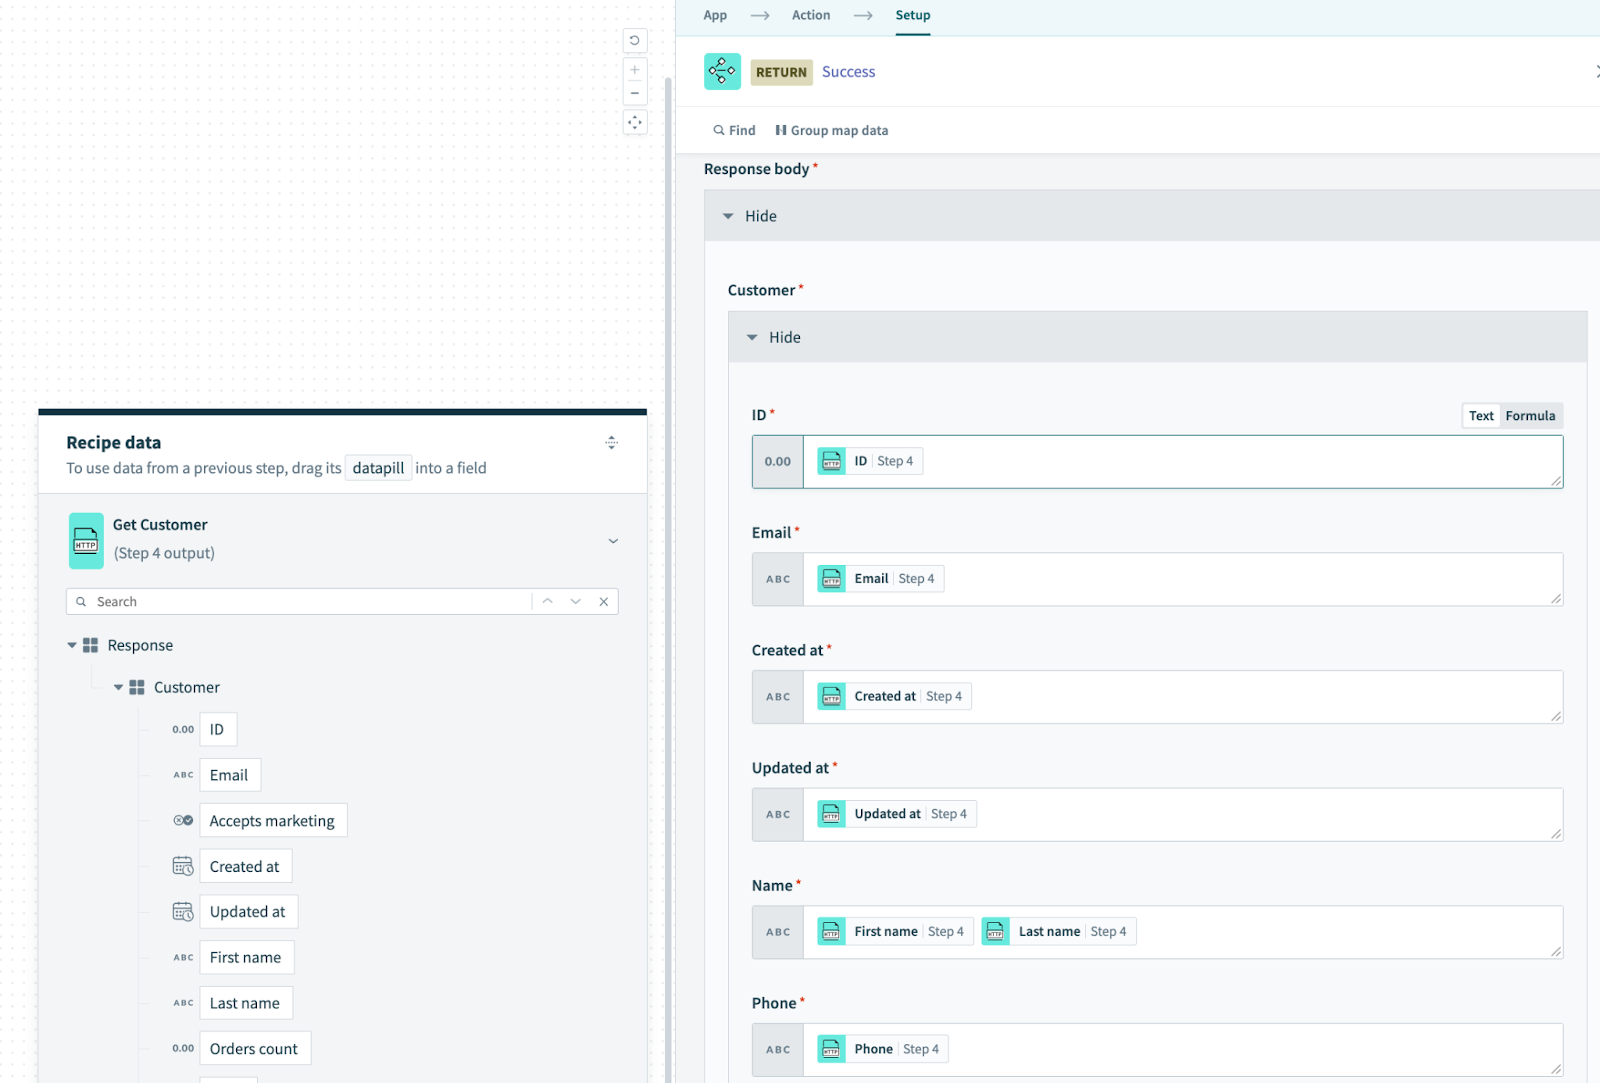
Then populate the fields you defined in the first step by the output fields of the Shopify call as follows
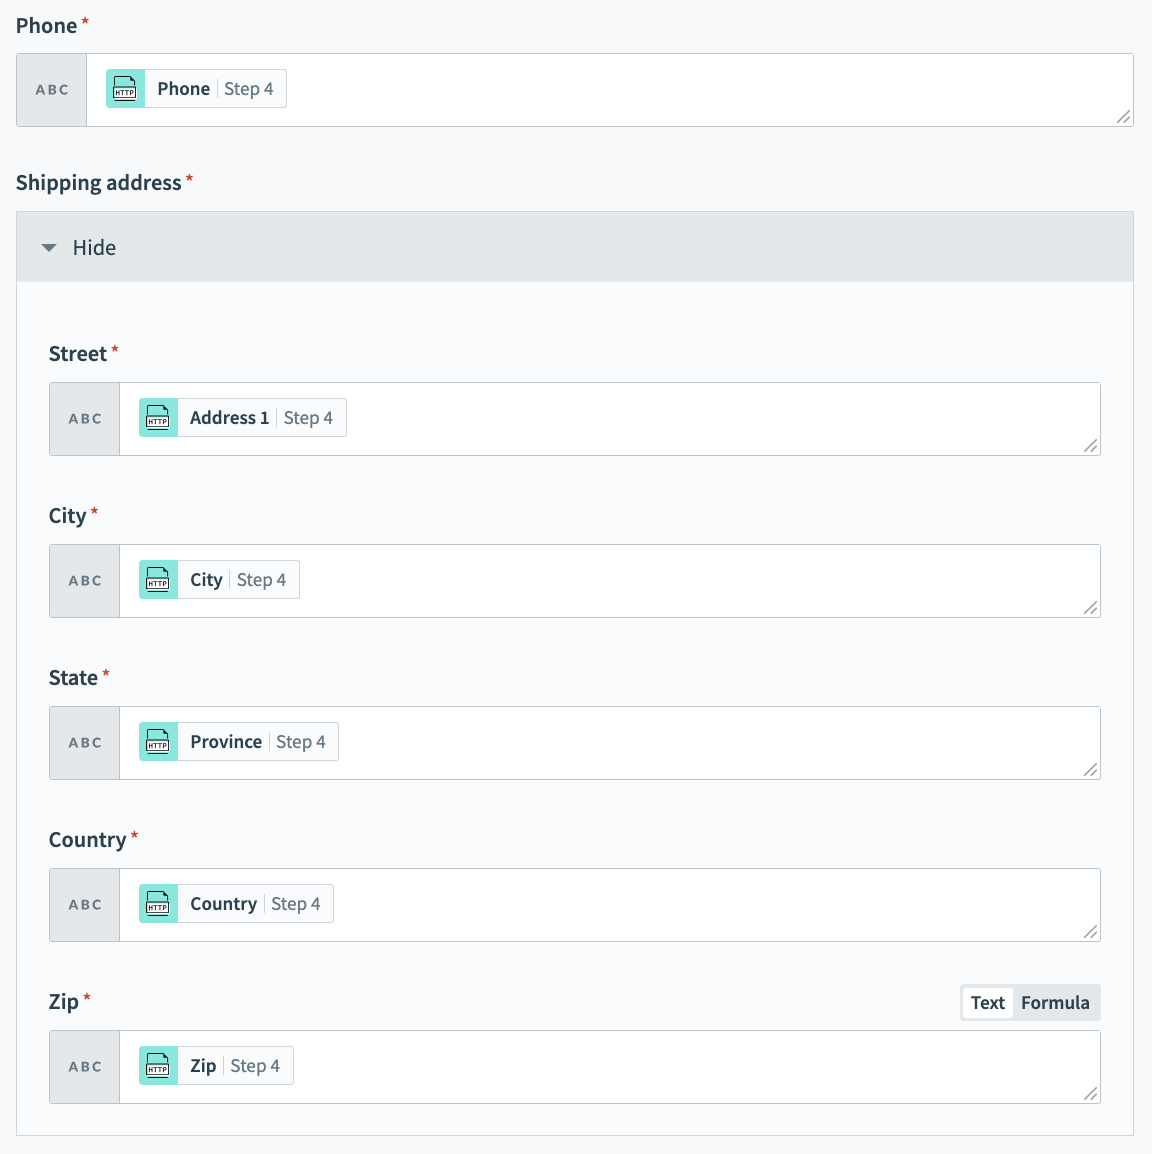
Here’s a continuation of the configuration for your reference
Enabling the Recipe
Last step in the recipe building is to save and start the recipe so that it’s available for receiving calls.

Creating an API
Now that the recipe is created, it’s time to head to Workato’s API manager to create an API exposing the recipe. From the left hand menu, click the API platform link to navigate to Workato’s API platform

Creating the API Collection
First step is to create an API collection, which is nothing but a container for one or more APIs. To do that, navigate to the “API collections” tab and hit “+ New Collection”. If you have an existing collection and you want to add the API to it, you can do that as well. For the sake of this article, we’ll do everything from scratch.

Select the recipe we created earlier and provide a suitable endpoint path.

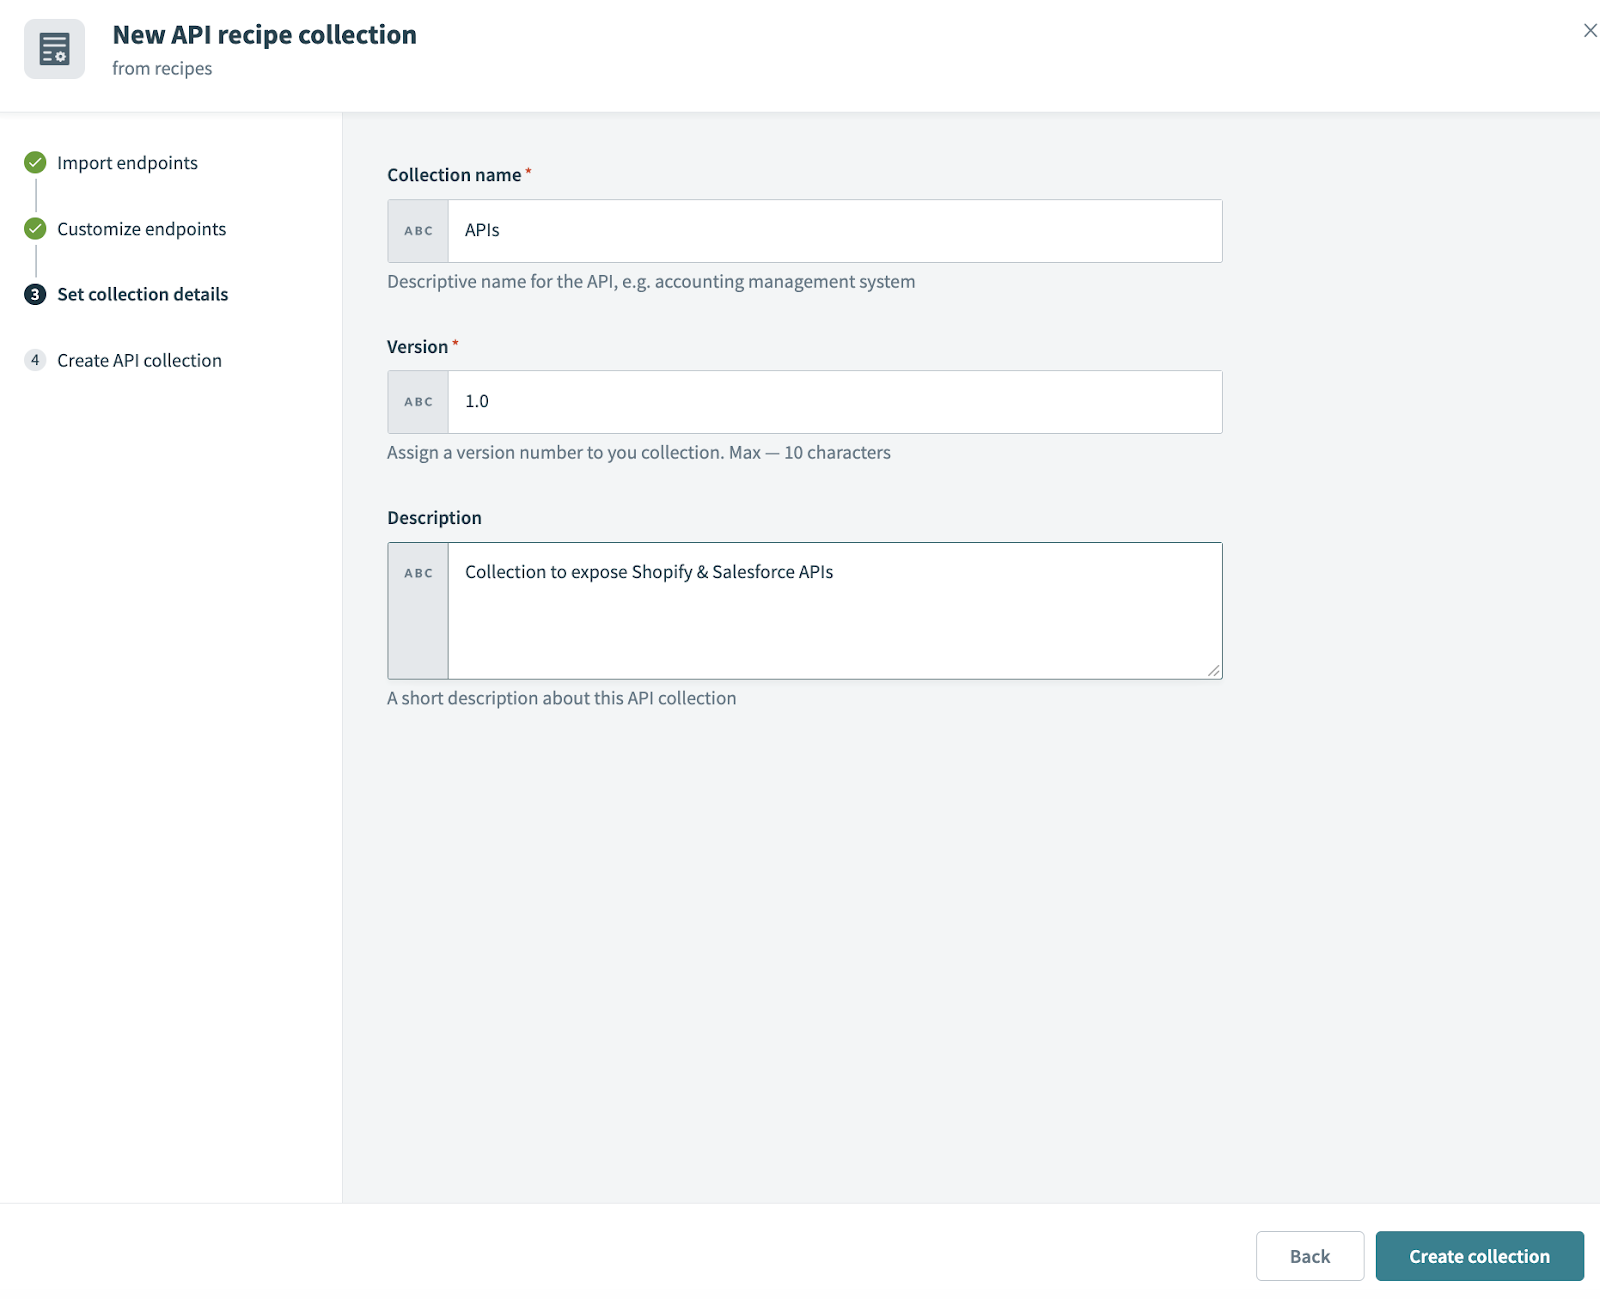
Set the collection details and click “Create collection”
Activate the API so that it’s enabled and can be called externally. Also, take a note of the API URL as we’ll need that later to invoke the API from an external HTTP client.

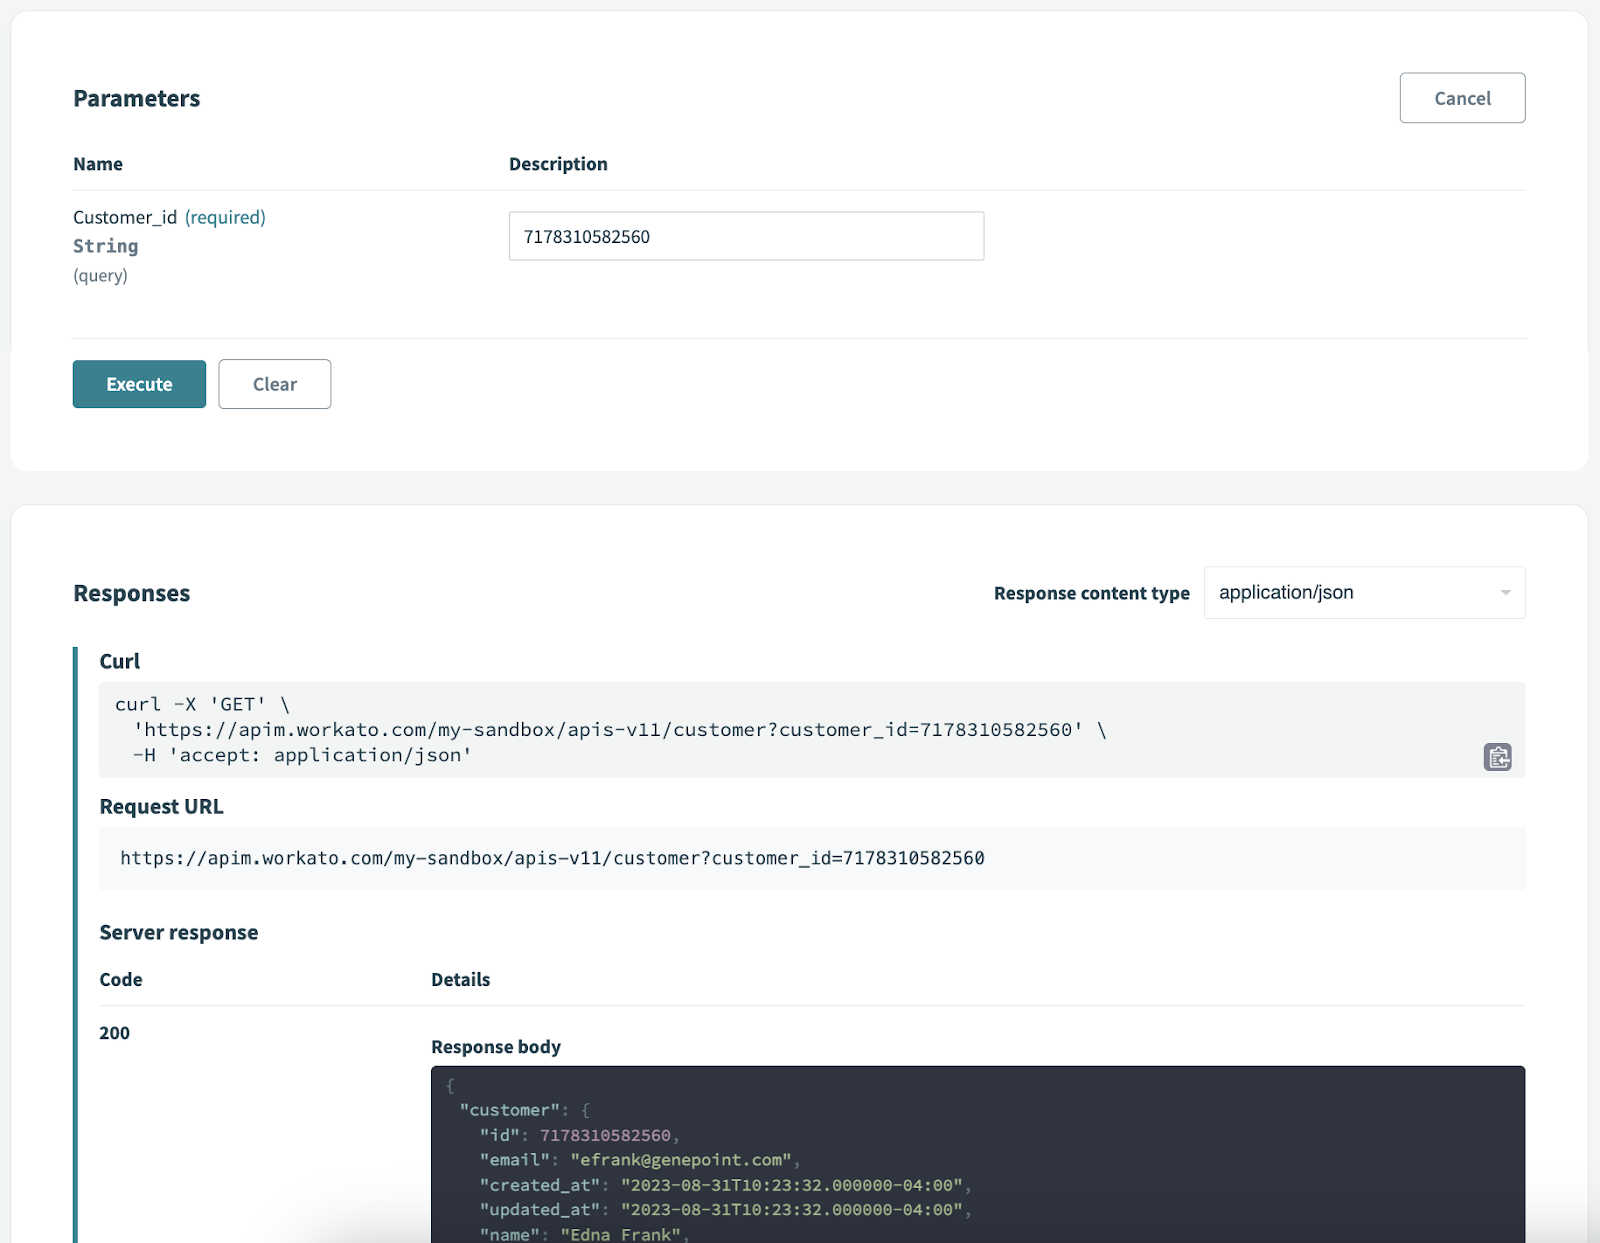
Optionally, we can click on our API and try it from within Workato’s API manager (APIM) itself.
Creating the API Client & Access Profile
As of now, we have an API, however, we need to secure access to this API. To do that, we need to create a client, then give the client access to the API collection via an “access profile”. Let’s do that!
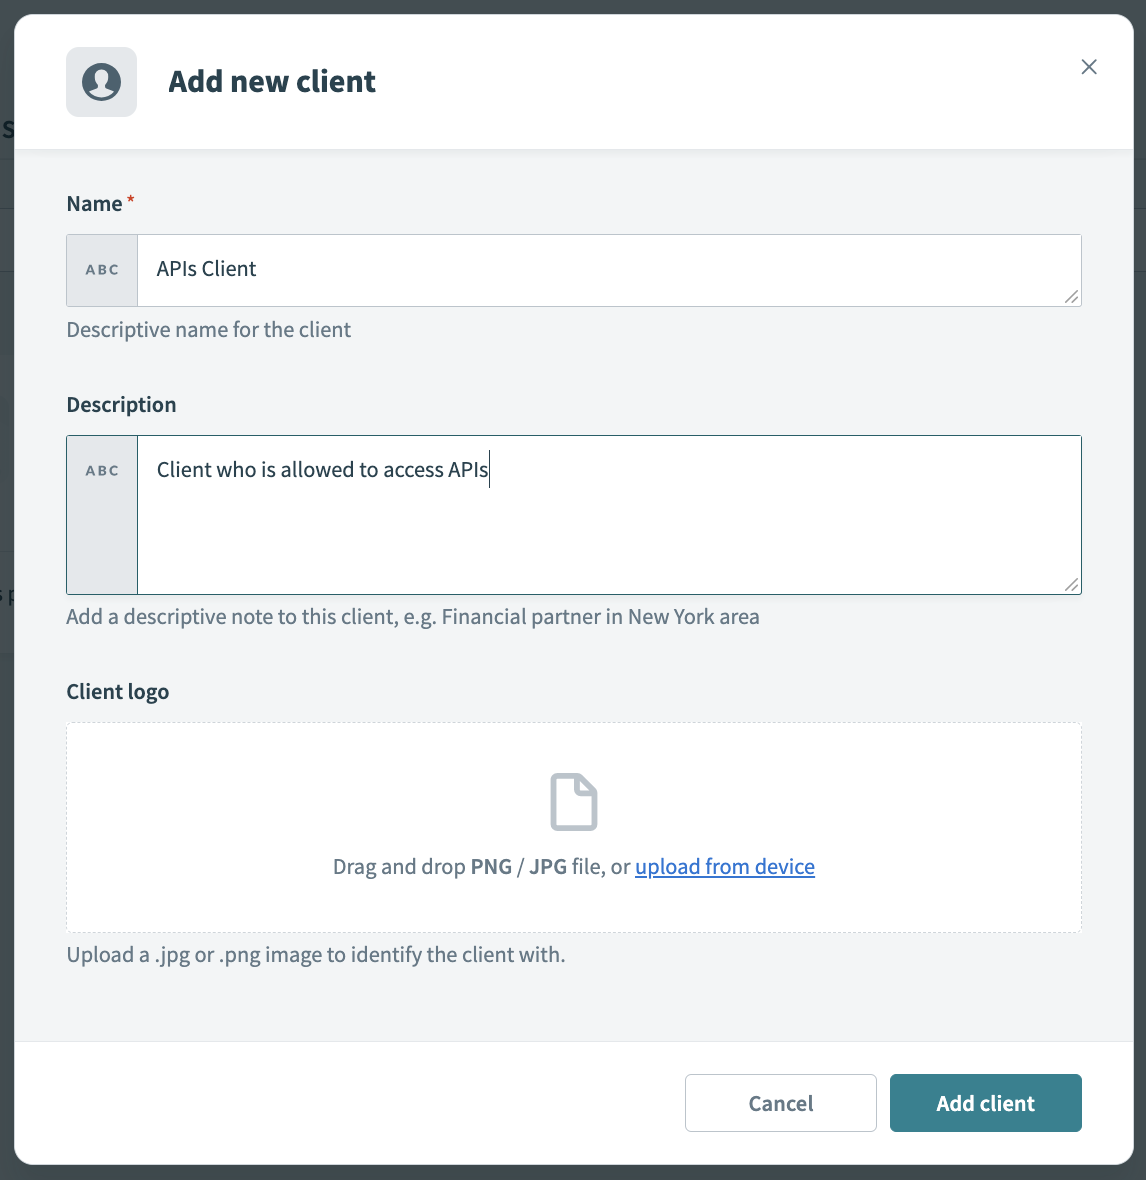
Under the API platform, open the “Clients” tab and click “+ New Client” to start creating the client

Provide the client’s details and click “Add client”
You’ll see a screen indicating that this client doesn’t have access to any APIs, with a button to create an access profile. Go on and click on that to create an access profile

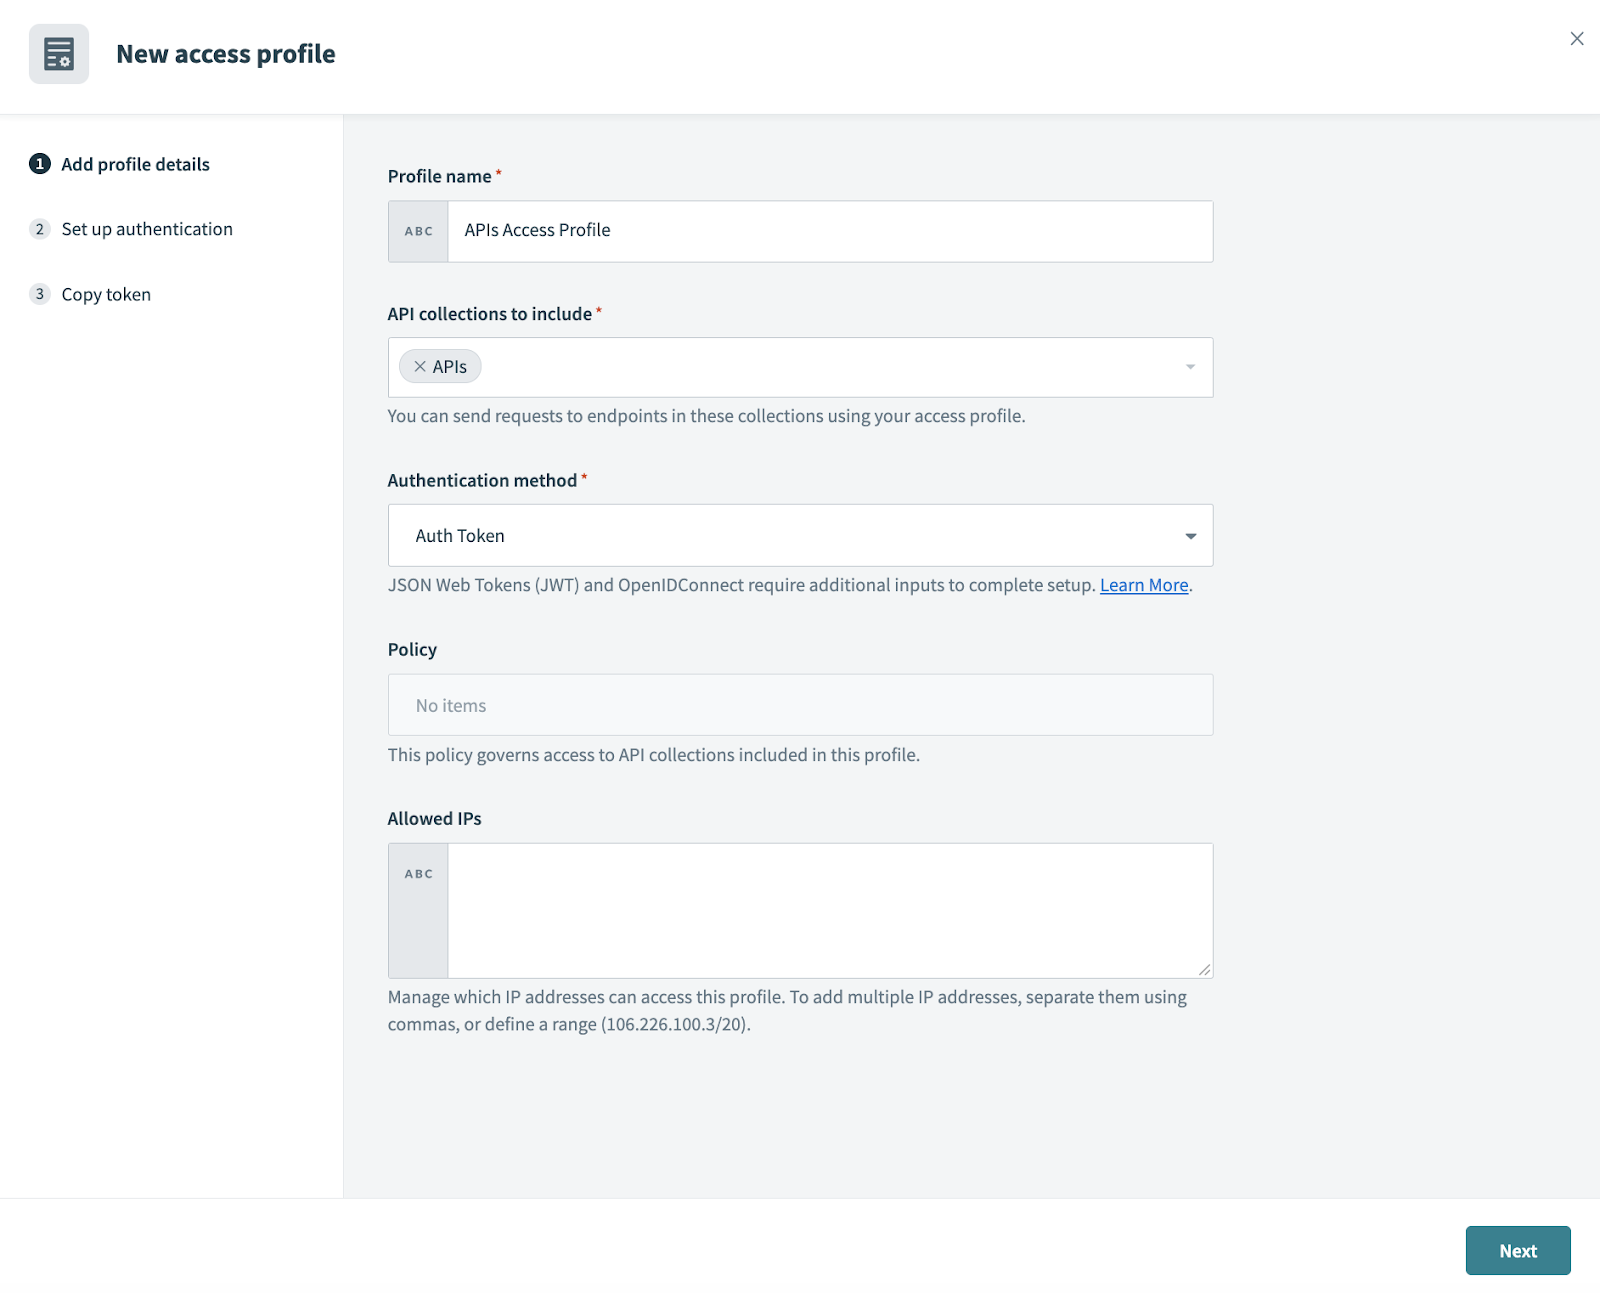
Populate the access profile details, and most importantly, select the API collection we created earlier. Click “Next” when done.
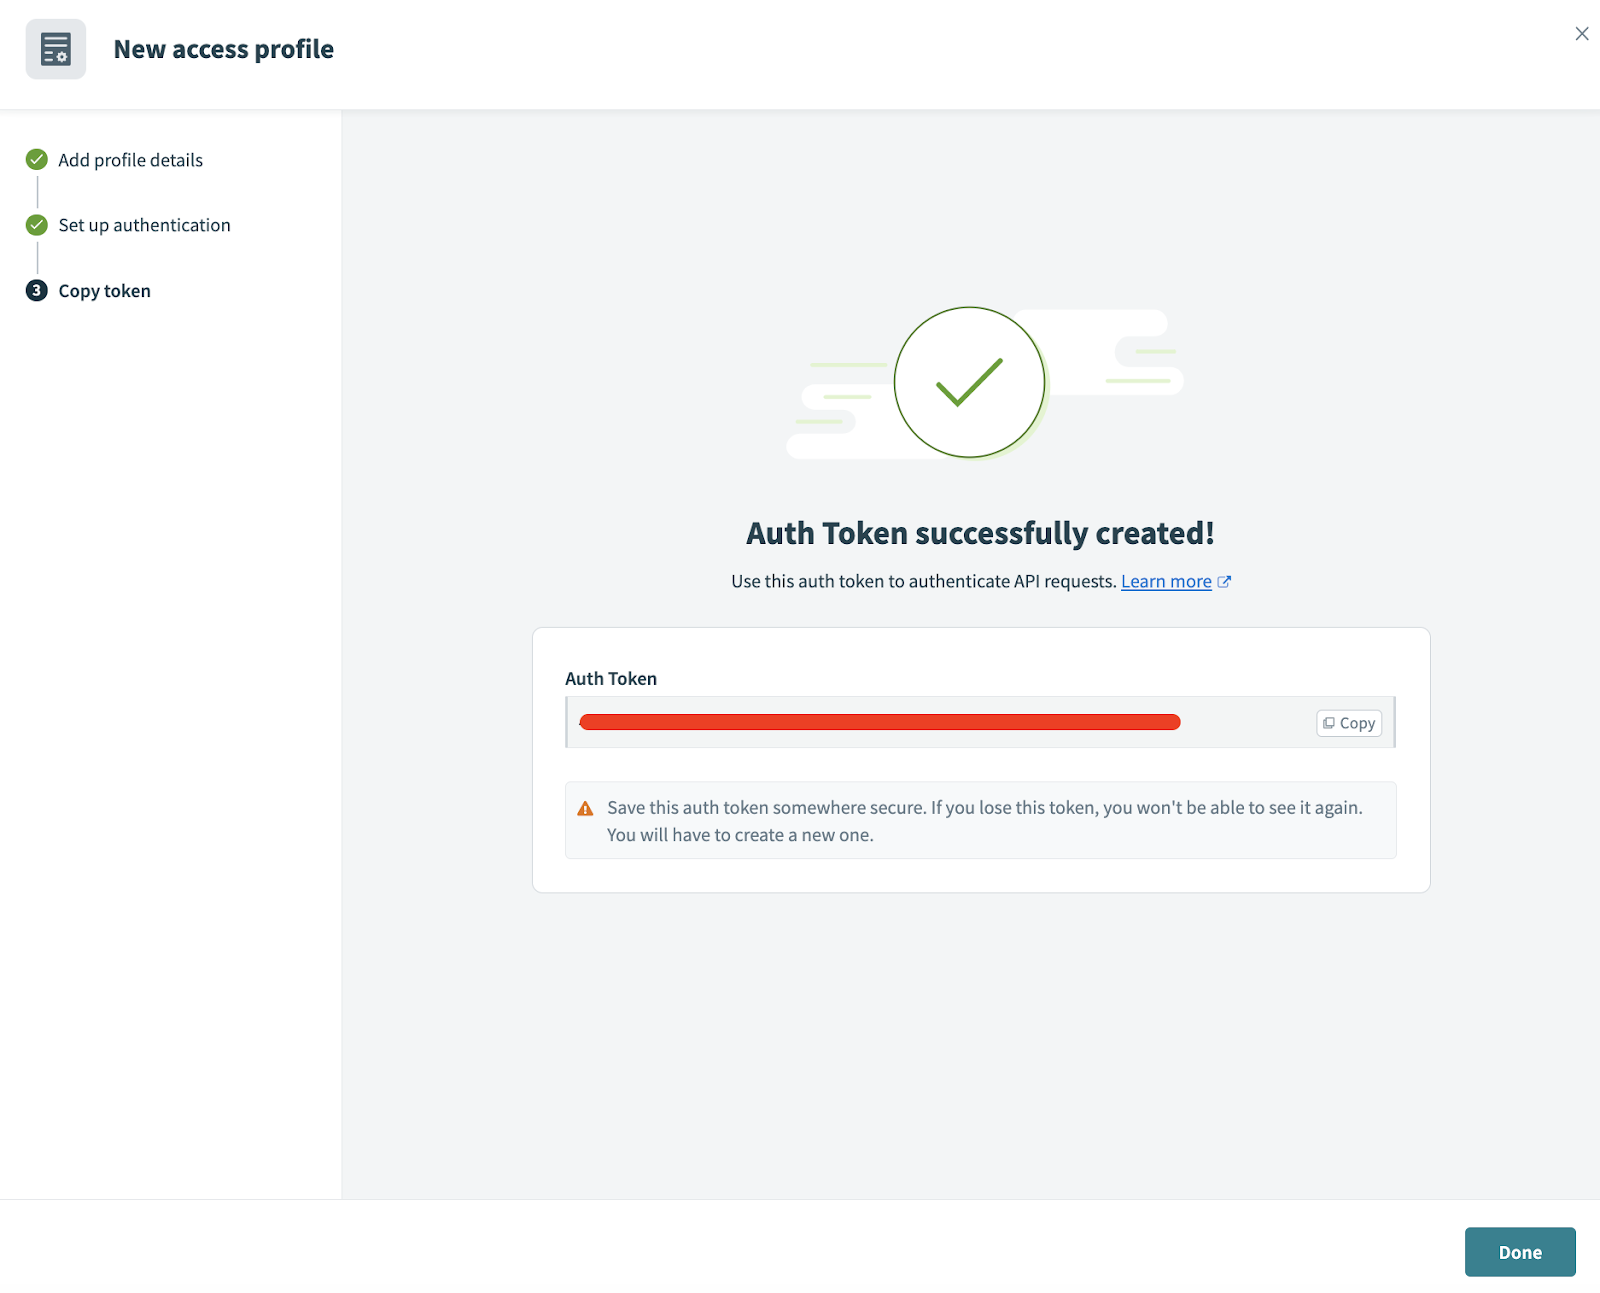
In the final step of the wizard, don’t forget to copy the auth token generated, as this is what you will use to secure calling the API. Click “Done” when finished.
That’s it, we have completed creating an API and securing it. All what is left is to test and make sure everything works as expected.
Testing the API
To test our API, we’ll use Postman as usual. Don’t forget to copy the API URL visible in the API collection page, and the auth token generated in the previous step. Open Postman, configure and send a request as follows

Change the customer id to a non-numeric value and attempt to call the API again, verify an error response is being returned now.

Finally, you can go back to Workato and view the jobs that were created as a result of your calls. You can view the input/output data on each step of the recipe. This is very helpful for troubleshooting purposes.

Conclusion
In this article, we have tapped upon creating and invoking APIs in Workato. It’s clear that this versatile platform holds the key to unlocking seamless integrations. Armed with the knowledge gained in this guide, you now possess the tools to effortlessly enable realtime API-based connections between your applications.
It’s worth noting that we haven’t fully covered all the API management capabilities in Workato. That’s something that will be covered in a later article, where we discuss and explain the API management features. Until then, happy learning!